
Creating your own blog photos or photo stock is very easy and inexpensive. This is great news since photos can get quite pricey.
Here’s what to do:
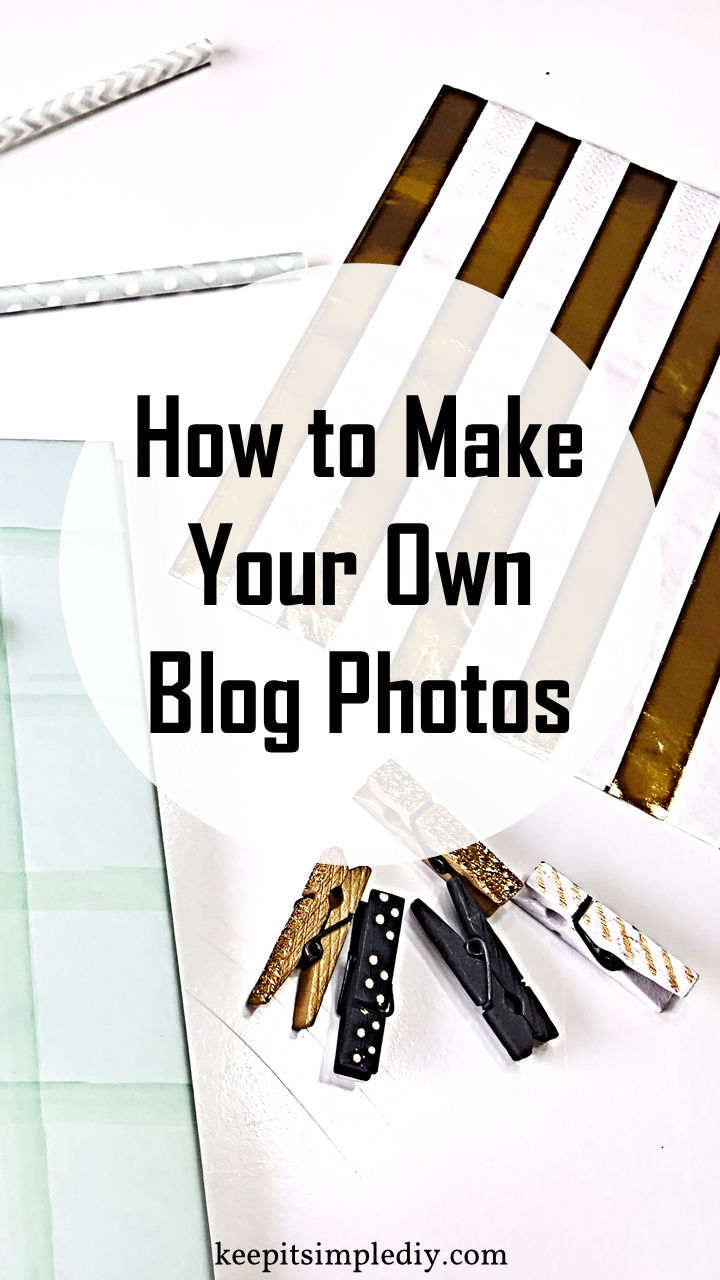
- Buy some blogging goodies. Things like paper clips, clothes pins, note pads, and anything else you would like to see in your photos. My favorite place to get these things is at Target in the front $1-$5 section when you first walk in. Other places you can check are the dollar store and Amazon.
- Find a suitable background. I happen to have a white table and a white desk that I use as my background. You could use designed paper, styled wrapping paper, the table or counter, or any surface you would like. If you don’t have a white background, you can always use a piece of paper and just scale smaller.
- Create a collage out of your goodies. This is the fun part. Lay out a set of goodies and take pictures at them from different angles. Switch out the goodies as you’d like. With just a couple dollars worth of items, you can create thousands of different pictures.
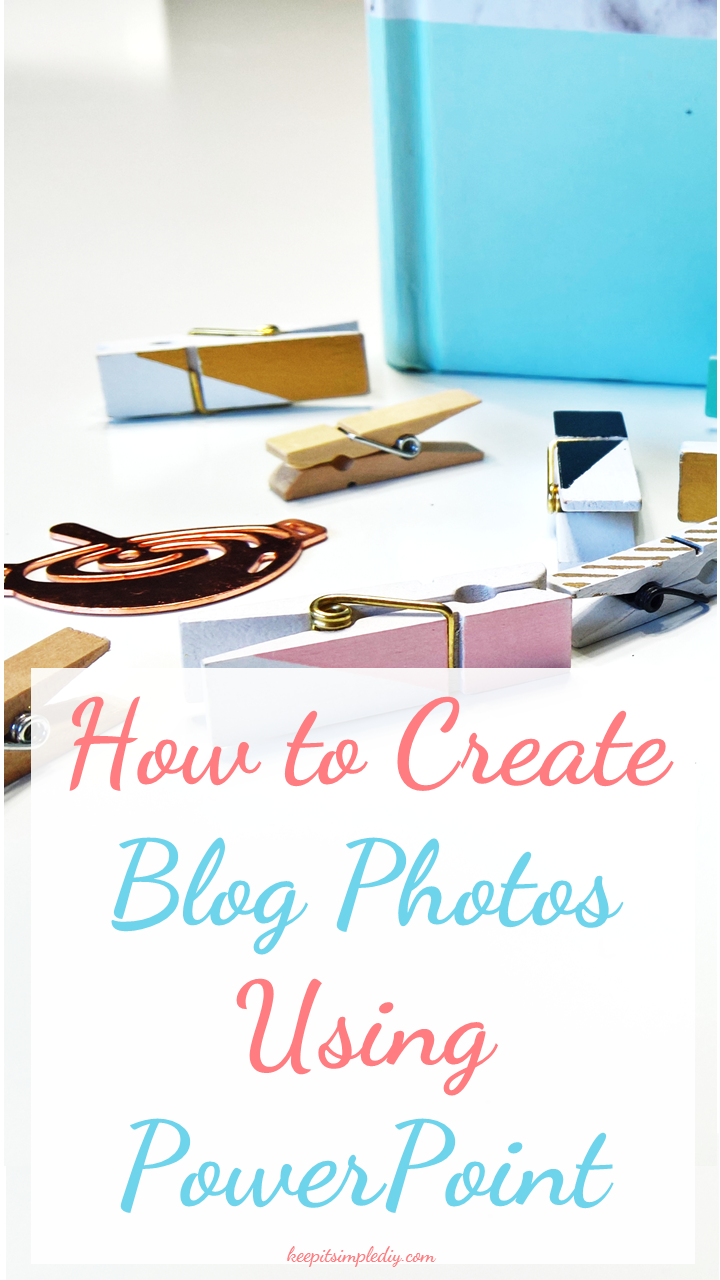
- Edit your photos. There are many photo editing programs and apps out there that can be a bit confusing. I like to use PowerPoint for editing my photos because it’s so easy. I usually edit the brightness and contrast of my photos to one of the pre-set values. Sometimes I adjust the sharpness of the photo.
- Crop and Design. Once your photo quality is where you want it, you can begin creating your blog photo. Use the entire photo or crop any portion of the photo to be the background for your graphic. Then, just add text boxes, opaque backgrounds, and fun fonts and colors
There you go! A very fun and inexpensive way to create your own unique blog photos.
If you’d like more detail on the steps used to crop and design the photos, click the image below.
Spread the love


Interesting that you use PowerPoint. I wouldn’t have thought to suggest this, and I find that for many of my clients, blog images seems to be a daunting task. I’m gonna use this in my arsenal of tips for them to make it easier. Gracias!
This is such a fabulous idea!! I definitely need to make a library of these 🙂
-Clarissa @ The View From Here
Oh wow, PowerPoint for photo editing? That is interesting, and I am totally intrigued. Last time I used PP, I was in high school haha, so I would be so neat to see a blog post about this! Photos for the blog, especially pins, can definitely seem overwhelming, but these tips really come in handy. Thanks for sharing! <3
Thanks Savannah! Here’s the post about Blog Photos. http://keepitsimplediy.com/2016/08/20/make-blog-photos/ I just kept at the basics but maybe I should make a step by step tutorial!
Do you use a fancy camera, or special lighting? Or can you use your mobile device camera or an old digital camera?
Hi Monica. I actually just use my phone to take photos. 🙂
Comment by: Stephen Walker
Hi Kari,
Your images are amazingly effective for such a simple spproach.
I had visions of trekking round the hills looking for that perfect vista.
Good for you Kari.
Great tips! I really need to work on creating my photos and experimenting with flat lays!