Every house owner wants his or her home to look best in the locality. The paints on the exterior walls play a pivotal role in the overall appearance of a building. So it is crucial to apply the best quality paints on these walls and make sure that the job is done properly. Though there are many professional painters who can paint the entire house efficiently, many homeowners may find them too expensive to hire. If you are also one of them, then you need to learn the DIY procedure for delivering textured render finish to your exterior walls. This kind of finish will not only give an extraordinary look to your home but will make it stand out in your neighborhood.
Essential DIY Tips To Apply Textured Render Finish To your Walls

- First of all, the walls should be thoroughly cleaned to make them free of all dust and dirt particles. If any earlier paint still exists on the walls, it should be totally scrapped off. All traces of grease or other minute particles should be carefully removed from the walls as well. The presence of any particle on the concrete surface of the walls can hamper the application of textured render finish.
- Then, an appropriate coating of cement based plaster should be applied uniformly over the entire exterior walls. This plastering helps the walls resist all damages due to heavy rains, cyclonic storms, and direct sunlight. The application of plaster makes the indoor heatproof and soundproof, making life more comfortable for the residents. Perfect plaster also makes the ideal base for a textured render to ensure the best look of the building.
- It is necessary to mix the correct amount of cement with water, to make a paste of suitable thickness for plastering the concrete walls. This coating of plaster should be allowed to dry for at least 24 hours before applying the textured render on the external walls. If any exterior wall is made of sandstone, this absorbent surface is entirely soaked with a large amount of water. Thus, there will be no need of putting extra water while applying fresh textured render finish on the sandstone surfaces.

- The house owner should choose the right kind of render for applying on the house walls. The plastering sand should be of the best quality, which needs to be mixed with other necessary ingredients of textured render. All these ingredients should be mixed on a thick concrete slab or a wheelbarrow or cement mixer. It is best to follow the guidelines printed on the pack of render while mixing and applying it on the walls.
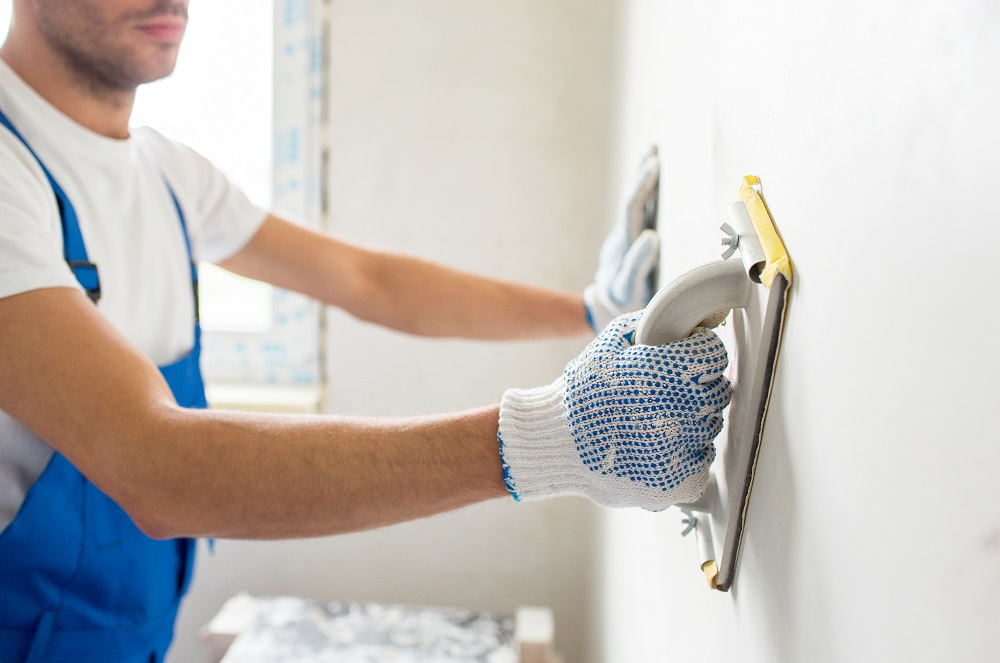
- A house owner should mix all the dry ingredients together to bring uniformity in the color of the resultant mix. A little amount of water should be added to make a soft and sticky paste, which needs to be applied on the walls with a steel float. You may place timber battens of required thickness on the wall to make clean textured render finish over the wall surface.
- Finally, the excess render should be removed by using a metallic leveler with a flat edge. Then the steel float can be used again for smoothing the render surface. If multiple layers of render need to be applied, then each layer should be dried for a minimum 3 days before applying the next one.

The house owner should consider the age of the home and the nature of the walls while buying a suitable render. If the walls need to be repaired or any other maintenance work, it should be done before applying the textured render finish. The choice of color and texture depends on the personal taste of the homeowner, as well as the surrounding environment of that place. The house will look extremely elegant after the application of this renders all over the exterior walls.


Loving the transformation
http://sheismelrose.net/