When I moved into my house, I had four shelves awkwardly hung on one of my closet walls. (I have now moved them to my garage) They stuck out farther than the door which made them always be in the way and did not have much storage space.
I quickly decided to take the shelves down and put a shoe rack against the wall instead but taking the shelves down meant having many pretty large holes in the wall.
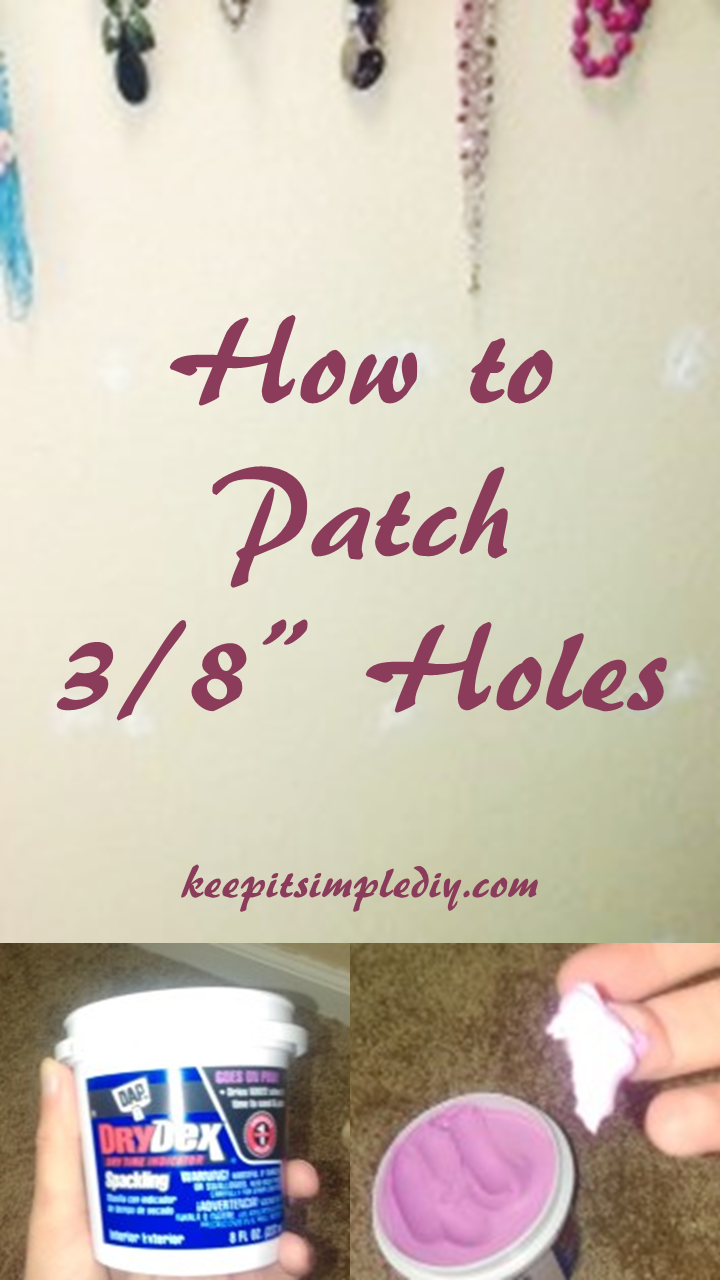
Lucky for me, I always have Spackle around the house. Typically, I buy the Spackle that goes on white because I like that it seems to have a more gritty texture. Although that may be my imagination. But, last time I went to the store, I actually got my Spackle from Walmart and pink is all they had.
Good news though, pink Spackle makes for easy demonstrations.
Step 1: Put a small amount of Spackle on a putty knife or your finger. I prefer to use my finger for these small jobs and only use a putty knife for large holes.
Step 2: Fill the hole with as much plaster as can fit and smooth as much as possible. If the hole is large, it will not fill all the way at this step. Just add as much as will fit without making a bump on the wall.
Step 3: Repeat the process for all holes and then let dry. With this Spackle, I knew it was dry when it turned completely white.


Step 4: Add a small second coat to completely fill the holes. Notice that I didn’t go out nearly as far because I was applying significantly less Spackle for the second coat. I also used my finger to add a little texture to the patch rather than making it smooth.
Step 5: Repeat step 4 for all holes.
Step 6. Let dry overnight (or at least until dry and hard)
Step 7: Take a piece of high grit sand paper and lightly buff over the tops of all of the patches so the texture will look more uniform.
Step 8: I will eventually get to this step… But, the wall now needs to be painted. If you have touch up paint, great! That makes this really easy. For me, the house was all painted in flat paint when I moved in and I’ve since changed to semi-gloss but have yet to paint the closet. I guess this will be a winter project. But what color? Anyways…to paint the wall, I’d suggest putting a quick coat over the patches first since they will soak up a lot of paint. After they dry, paint the entire wall including the patches.
Did you notice the jewelry hanging? Here’s how I’ve got it laid out. They are hanging with clear push pins. 🙂


I have done this and love the ease of that putty that turns from pink to white when dry. So simple! When the hole gets bigger they have simple netting to use with it too. Thanks for these quick tips!
Danielle
http://twentydollardate.com/
Thanks for the simple steps! I think I would use the pink spackle too.
This is so helpful! I'm not really great with home repairs, but I need to get better now that we are buying a house. I love that it is easy so I can do it on my own without much help. I'll have to save for when I get into my house!