
Recipes Used:
- https://www.runningwithspoons.com/banana-oat-greek-yogurt-muffins/
Products used in this video (Affiliate links)


Video Summary
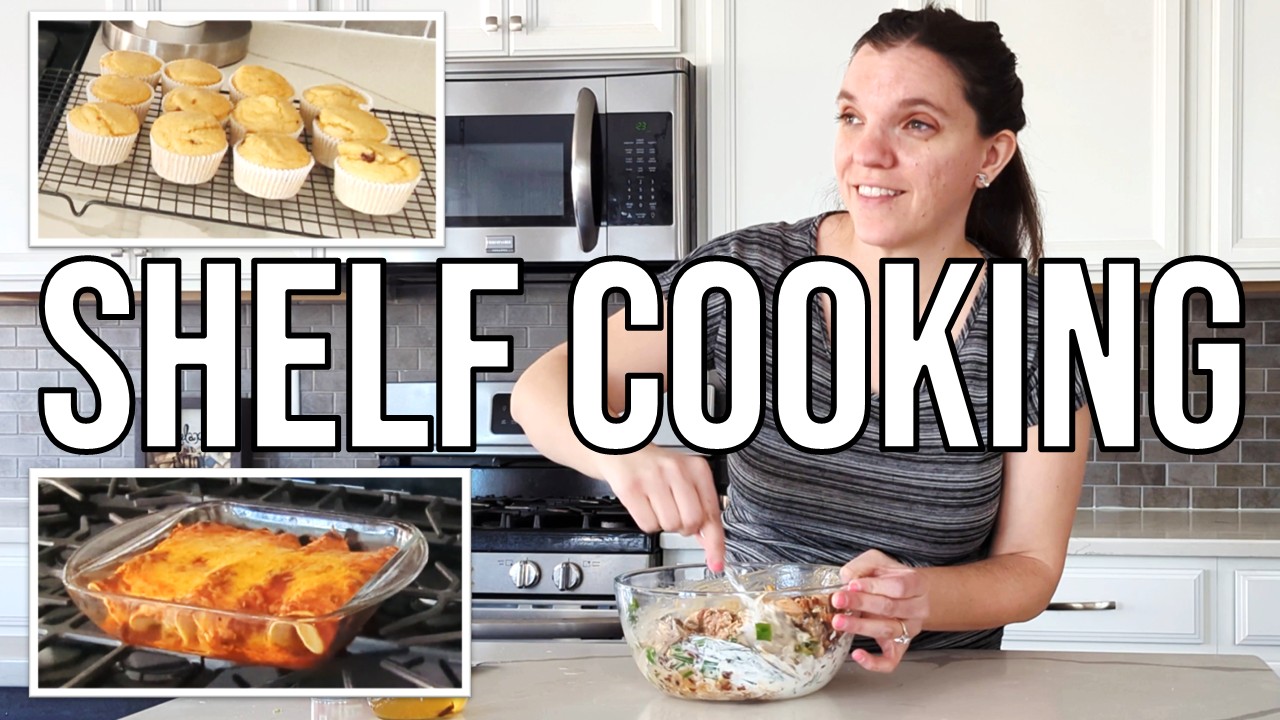
Hey everyone! In today’s video, I’m tackling one of my favorite challenges – using up ingredients before they go bad. You know how it is – you look in your fridge and realize you have a cantaloupe that needs cutting, a cucumber begging to be pickled, and some Greek yogurt and sour cream that won’t last much longer. I started by cleaning up my workspace because I really can’t stand cooking in clutter. Then I got to work on multiple projects. First, I prepped the cantaloupe for easy snacking and quickly pickled that cucumber with some leftover brine. Since I had Greek yogurt to use up, I made another batch of those banana oat Greek yogurt muffins that turned out so well last time. They’re a blender recipe, which makes them super simple – just toss in the yogurt, banana, eggs, oats, baking soda, baking powder, brown sugar, and chocolate chips, blend it up, and bake at 400 degrees for about 15 minutes. The main project was using up sour cream and creamy chipotle sauce to make enchiladas. I combined them with an enchilada sauce packet, home-canned chicken and black beans, some green onions, and cheese. I made enough for dinner tonight and the next few days, plus a freezer meal for later. I used an 8×8 pan since it’s just the two of us – no need for a huge 9×13 dish! The whole session gave us breakfast muffins for several days and dinners sorted out too. I love these kind of cooking days where you get multiple meals prepped while cleaning as you go. It’s all about keeping it simple and reducing food waste!
Video Transcript
Hi everyone, welcome back. I’m Kari with Keep It Simple DIY, and today I have a few things in my fridge and on my counter that I need to do something with so they don’t go bad. So we’re going to be doing a few food projects. Before I do that though, I’d like to get the dishwasher empty and get the dishes in the sink put into the dishwasher so we have a clean working space. I’ve got a cantaloupe that I need to cut up. I have a cucumber that I need to do something with. I also have some Greek yogurt, sour cream, and some taco sauce. We’ll see what to do with all of it. All right, first thing I’m going to do is get this cantaloupe chopped up and put into the fridge. Well, let me tell you – I just chopped up this cucumber, added some brine from this jar into it, thought I was filming and I wasn’t. So here you go, cucumber in a jar. Made some more pickles. All right, I have some Greek yogurt that I need to use up. Question is, how much is there? And I made – what are these called? – banana oat Greek yogurt muffins the other day and they turned out really good. So I’m going to make them again, and I’m just going to make however many times the recipe I have yogurt in here. Let’s see, the recipe calls for one cup. So how much do I have? You know, I’m going to say I have one cup. I might have a little bit extra, but that’s all right because the recipe also calls for two bananas and I only have one that’s frosted. All right, into here we go. And this is a blender recipe which makes it super simple. All right, you’ll notice I clean as I go. I really can’t stand having clutter everywhere. Even though I am just cooking and it’s just food, I really don’t like it out everywhere. All right, let’s add this banana in. We’re also going to need two eggs. All right, let’s see – two bananas, two eggs, some baking soda and baking powder. All right, I’ve got one teaspoon here. We need half a teaspoon of baking soda. I’m just going to grab a little bit, half of that. And one and a half teaspoons of baking powder. Need a quarter cup of brown sugar. Let’s see here. I like to store my brown sugar in the freezer. I’ve never had it go hard on me aside from frozen hard, but it’s super soft and it stays in my freezer for a really long time. Let’s see, I also need two cups of oats, either instant or – what’s the other ones? – old-fashioned. You know, this is making a mess. That’s all right. One… let’s do it over here this time. Two. Good enough. This was really clean the other day. I like that other measuring cup. I didn’t think ahead too far and I used it for a wet ingredient and then the whole thing was wet. So I’m going to put these back away before I get that going. Let’s see, last thing we’re going to need here is chocolate chips. It says half a cup, but I’m not going to add them in until after I blend it. Chocolate chips melted in the sun when they were being delivered. Still in there. That one for me. All right, half cup. Well, quarter. I normally don’t measure chocolate chips, but I put way too many chocolate chips in these last time I made it. And you know what I didn’t do? What I should have done? Preheat the oven to 400 degrees. All right, we’re going to blend it up. All right, I have just a little bit of sour cream left and some creamy chipotle sauce. I am going to put these together and make some enchiladas. All right, I’ve got an enchilada sauce packet that says that I need some tomato sauce, so I’m going to use tomato paste. All right, let’s just squeeze all of this in there. Shake it first. Enchiladas are actually one of my favorite ways to use up fridge food. That, or I use it for breakfast. I will make – like if I have rice and onions in the fridge, a lot of times I will just put those together, add some sauce, fry an egg over the top. All right, let’s leave that like that for a minute. Grab our spoon. Just going to add everything right to here instead of doing individual layers for all of it. This is one of my last few jars of chicken, and then I actually just canned the black beans. It’s ready. Let’s throw our muffins in. Set a timer for… um, how long? Fifteen minutes. I was debating between 10 and 15 minutes. It says to do it for 10 to 15, but I remember from last time I made them it needed the full time. Throw that away. Let me rinse the beans. And now I have a jar to strain my broth into because I’m actually going to use the broth for the enchilada sauce. We’ll add our chicken in here. Now these kind of lids cannot be reused for canning. I’m just going to throw them away because when I opened them, they got a little disheveled. I’m also going to throw some green onions in here. I know that’s a little odd, but we’re going for it. Not really going to garnish them, so I might as well just stick them in for flavor. All right, I have a little bit of cheese left in this bag, so we’re going to throw that in here. And let’s give it a mix. I’m just chopping this chicken down so the pieces aren’t as big. If I were to stir it a ton, it would just completely shred apart, but I’m trying to keep it a little bit together but yet mixed in. All right, our mix is starting to come along. Let’s add some spices. We have black pepper. Not the hugest fan of black pepper – it’s all right. Recently though, I did grind my own black pepper and I found I actually like it, whereas I used to hate it. I would use it still. This is just garlic and – well, that was onion powder. So we’ll grab some from below. And let’s use smoked paprika and finish mixing it. There’s the sun! You know, do you guys seem to just get like, lose the pep in your step when the sun is not out? For me, if the sun’s not out, I’m kind of just blah. But if the sun’s out, I’m just fantastic. All right, we’ve got our filling mixed together. Let me grab something to mix up this sauce. And what did it say to use? One and a half cups of water and eight ounces of tomato sauce. So, well, we’ve got a mixture. We’re just going to eyeball it. Let’s see, we are now at not quite one and a half cups there. We’re going to add this. I also recently reorganized so that way everything I needed over here would be over here, but you know, I still go over there to get it. Like I put it right where it would be most useful, but I still go to the old spot. These little cans are so hard. They just don’t stay on. We’ll get it. It’s coming off again. We’re almost there. Actually, you know what? There we go. Let’s get this all out of here and mix it up. All right, grab a pan. Let me spray it. Throw some enchilada sauce down. Of course, I’m not using a recipe here. I’m just throwing together what I have and making sure all these little bits are not chunky still. Okay, roll them up. Got some water there. I want to avoid… let’s chop this chicken down a little bit more, right there. I usually put corn in my enchiladas, but when I can corn, I canned it in pints, and I don’t think I need that much corn for this. So I didn’t want to have another thing that I had to figure out how to use. That might be too much. Now I chose to do this in an 8×8 pan because there’s only two of us in our family. We don’t need a whole 8.5×11 or 9×13 – 8.5×11 pictures – we don’t need a 9×13 dish of enchiladas. So let me grab a dish for the freezer and we’ll make a freezer meal as well. Label it. Let’s see, we have enchiladas and this is April of 2023. Okay, avoid that water. Put this down. Let’s see… three. All right, that’s how many I was hoping for, so that works out perfectly. Fill them up. All right, let’s finish these off by adding a little more sauce over the top and then some cheese. I took this cheese out of my freezer to thaw a little bit ago. Last time I bought cheese, I bought blocks of cheese and I shredded it all and then put it in the freezer. I hadn’t done that before, but a lot of people were saying that they like shredded cheese that you shred on your own better than store-bought shredded cheese. Can’t say if I really prefer one over the other. I could probably see myself using both depending on if I feel like shredding cheese or not. This cheese is a little bit frozen still. That’s all right. Okay, loading it up with cheese. Looks like our timer is about to go off, so let’s go over and check our muffins. All right, let’s see here. Oh, they don’t quite look done, but let’s see. We’ll take a little peek. Oh, maybe they are. All right, let me grab a mitt and we will take them out. You know, they probably look a little different because I have them on a pizza stone. All right, one thing out and then one thing in. Let me grab some foil to tent that. All right, I have the enchiladas tented and I need to leave the muffin sitting in the tray for about 15 minutes before I take them out to cool. All right, I just took the enchiladas out of the oven. They’re looking fantastic. It’s only about 4:00 here and I’m not quite ready for dinner, so those will sit there and cool for a little bit. And I did take our muffins out of the tin, so we’ve got muffins for breakfast for the next few days and some dinner for tonight and the next few days as well. Thank you so much for spending time with me in the kitchen today. I enjoyed having you here and I hope to see you again. Bye-bye!


