
Recipes Used:
Products used in this video (Affiliate links)

Video Summary
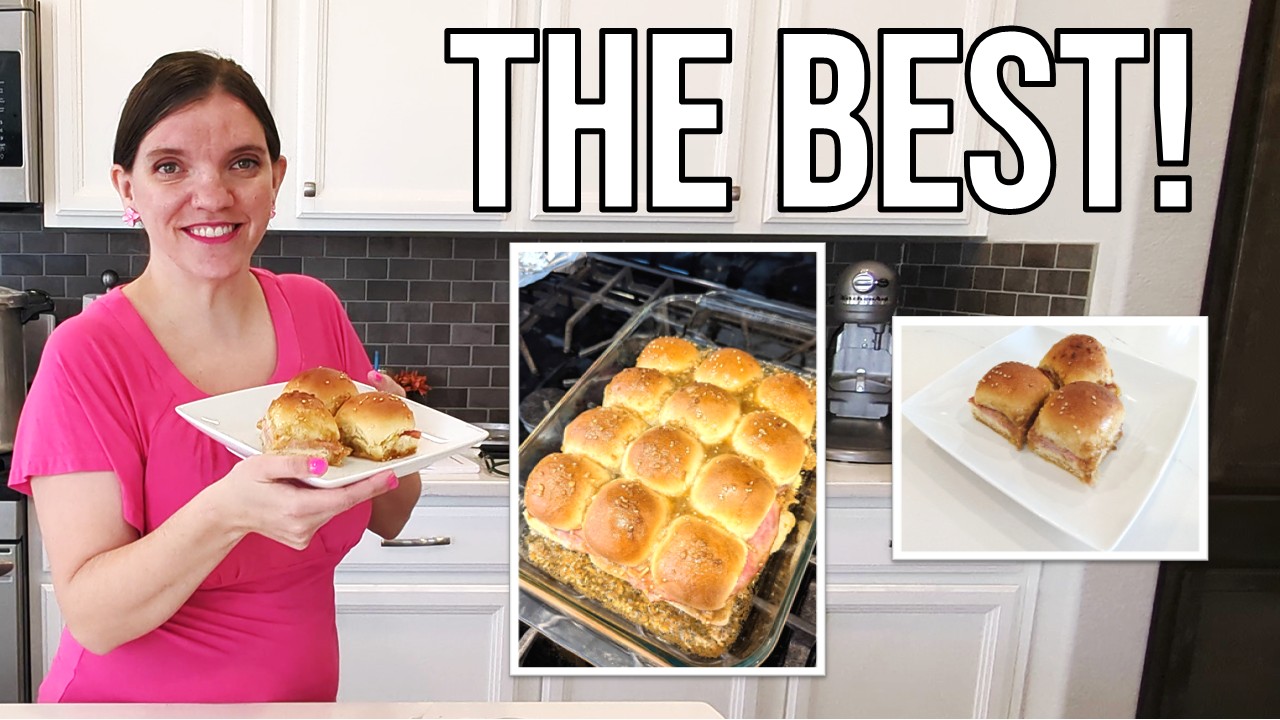
Good morning everyone! Today I’m making the ham and cheese rolls that I didn’t get to make for game night the other night. We had plenty of food and rolls, though next time I’d probably make a full batch of rolls because we didn’t have many for leftovers, but we did have lots of leftover meat. So I whipped up some extra rolls yesterday and put them in these bread bags I love (I’ll link them below) – they turned out so perfect they almost look store-bought! I’m making these today for on-the-go lunches this week since I’ll be out of the house a lot and need something I can eat while driving. The recipe is super simple: I’m mixing half a cup of butter (which is a ton of butter!) with about a tablespoon and a half of Dijon mustard, about a teaspoon and a half of Worcestershire, minced onion, sesame seeds (the recipe called for poppy seeds but I don’t have those), and brown sugar (everything’s better with a little sugar!). I keep my brown sugar in the freezer which makes it so it doesn’t get hard and dry out – it works very well! I’m using smoked ham and gouda cheese that I shredded myself when I got it from the store so it should have a really nice melt. The layering is ham, cheese, ham, then I pour all this butter mixture over the top, cover with foil, and bake for 15 minutes covered then 10 minutes uncovered. From game night, all the meats were a hit but the pulled pork was the favorite, which is funny because it was just opening a jar of pork and a jar of barbecue sauce – the easiest things are usually the favorite! The meatballs were the most time-intensive and everyone loves a good meatball sub. The big trick with these rolls I made yesterday was using a scale to make sure they were all the same size (about 40 grams each) and placing them close together so they’d grow into each other as they rose, kind of like Hawaiian rolls (which you could also use for this recipe!). You can hear my canner in the background – I’m canning chicken and that video will be out soon. These turned out amazing, nice and crispy with that half cup of butter, and I’m debating between just keep eating or finishing the video!

Video Transcript
Good morning everyone. I’m Kari, this is Keep It Simple DIY. Today I’m going to make the ham and cheese rolls that I didn’t make for our game night the other night. I did have plenty of food and plenty of rolls, although next time I probably would make a full batch of rolls because we didn’t have very many for leftovers. But we did have a lot of meat for leftovers.
So I whipped up some extra rolls yesterday and put them in this little bread bag. I love these bread bags. I just got them online. I’ll link them below. But look how perfect those turned out. They almost look like they were store-bought. You gotta get a close-up on these.
So I made a bunch. This is what I stored for today. And these ham and cheese sliders, here we go.
So right here I’ve got a half a cup of butter, which is a ton of butter. And I’m deviating from the recipe a little bit. What else is new? But I’m going to add about a tablespoon and a half of Dijon mustard, about a teaspoon and a half of Worcestershire, some minced onion, and then sesame seeds. It called for poppy seeds. I don’t have those. And then we’ll give it a mix. Very simple recipe today.
I also have out a 9×13 baking dish. I don’t think I need to grease it since I’m going to be putting so much butter on it, but I’m gonna grease it anyways. Let’s do it.
I forgot the brown sugar. We’re gonna put brown sugar in there too. Everything’s better with a little sugar. I will link it directly below so you can follow with exact measurements.
I like to keep my brown sugar in the freezer. Keeping my brown sugar in the freezer makes it so it doesn’t get hard and dry out, and it works very well.
All right, we’re ready to assemble. Now I’m making these today instead of for game night because I have a few days this week where I’m going to be out of the house for a lot of the day, and I need to have a lunch that I can eat on the go. And I want to make sure I can kind of eat it while I’m driving in case I don’t have time to sit and eat. And so I’m hoping these don’t end up too messy, but my goal is to just have a sandwich that I can like eat while I’m driving.
So I’m just gonna cut through these and hope that they don’t all come apart. I also perfected the size of getting these to be all nicely put together. These were about 40 grams each for each biscuit.
Okay, put this on the side. And now the recipe says to layer it ham, cheese, ham. I’m using smoked ham and I’m using gouda. And I just opened this ham, but I did take the, it’s a ham piece, it was like all just the skin side. Oh, anyways, what I was saying was I did just open it, but I took the packaging off just so it’d be easier.
Let’s put a half a ham on the bottom. I might not actually need all of it. Yeah, we’ll use it all. Okay, I’m gonna wash my hands real quick. Put some cheese.
Okay, gouda’s going on. And this is just gouda that I got from the store and then I shredded it right when I got it, so hopefully it’ll have a really nice melt to it.
All of the meats from the game night were a hit. I’d say the pulled pork was the favorite, which is funny because it was just opening a jar of pork and opening a jar of barbecue sauce. It was so simple. The easiest things, you know, are usually the favorite.
The meatballs though, those are probably the most time-intensive, and everyone always loves a good meatball sub.
Okay, add the rest of the ham. This is coming together really quickly. I probably should have put it in the pan before I started building it, but I guess we’re gonna get it in the pan after. A little piece of ham. Let’s get it over there. Here we go.
The lid back on. I like to clean up as I go, so I’m going to tidy a little bit and then we’ll be right back.
The recipe says to put all of the butter mixture completely over the top, which is why we have it in a 9×13 so it doesn’t spill. And then cover it with foil and put it in the oven for 15 minutes covered, and then take the foil off and then put it in for an additional 10 minutes. So that’s what we’re going to do.
And I’m just looking at these rolls and I’m so happy about them. They look so good. Okay, we’re gonna pour this over the top. This seems like way too much, but you know what, that’s fine. It’s fine. I feel like it’s just going to soak in and be delicious.
To the oven they go. Okay, we need, waiting to wrap them in foil. I almost forgot that part. Put a little foil over it. Now we’re going to stick them in the oven. We’ve got a timer set for 15 minutes. We’ll leave them in there for a little bit.
That came together really quick and easy, aside from I had to make the rolls and everything. Those rolls yesterday. The big trick was I definitely use a scale to make sure they were all the same size, and I put them close enough together to where they would do that like, I don’t know, where they would grow into each other as they rose, kind of like how the Hawaiian rolls are, the sweet Hawaiian rolls. You could use those to make this recipe as well. I just wanted to use my own rolls.
So I’m excited to see how these turn out. I am going to clean up the kitchen in the meantime. I do have just a few dishes from making the bread yesterday and a few leftover plates from eating leftovers yesterday. And then we’ll be back when these are out of the oven.
I just took these out of the oven and they are sizzling. They look delicious. I need to let them cool though. And then I think I’m going to have one for breakfast because I only have three days this week where I will be at my house. So I think I’m gonna bring three for each of those days, probably breakfast and lunch. And then there will be three extras for taste testing purposes.
The rolls have cooled down now and they’re looking beautiful. Let’s slice into them and give them a taste. Okay, I’m just going to use the spatula because it can cut right through the ham. Yeah, that looks good.
Okay, I’m gonna plate up three for breakfast, my husband and I. And the other ones will be my work. Two, three. I only need two for each workday, so I’m gonna put four on here. No, I’ll put three. I’ll just use more. I’m going to put these in packages to eat on the go.
It is time for taste test. You might also notice though, behind me, I do have my canner going, so it’s a little noisy. But we are canning chicken and that video will be out soon. I want to give these a taste test and they see nice and crispy.
Okay, that is so good. Of course it had a half cup of butter, right? I’m debating between just keep eating that or finish the video.
Thank you so much for being here in my kitchen with me. I wish I could give you a bite of these. These are delicious. I will have the recipe linked down below. If you liked this video, please give it a thumbs up and subscribe, and I will see you in my next video. Bye-bye!


