
Welcome to my canning pantry! If you’ve ever peeked into mine, you might notice it’s looking a little bare right now. Honestly, the last time I canned anything was back in March, when I made meals in a jar. Fast-forward to November, and that’s a solid eight months without canning—probably the longest stretch I’ve ever gone.
This year, my summer garden didn’t produce as much as usual, so I didn’t have enough tomatoes, zucchini, or pineapple to can. I also tried to use up some older items in the pantry before adding more. Now, it’s time to take action and get this pantry fully stocked for the winter months.
Assessing the Pantry
Before diving into any canning, I did a quick inventory. Here’s what the pantry looked like before we started:
- Zucchini and pineapple: Plenty in the pantry; no need to add more.
- Sweet potatoes: Only one jar left, which will eventually be used.
- Corn and carrots: We have a lot in pints and half-pints; while I debated making mixed vegetables, there’s already enough stock for now.
- Beans: Chickpeas from 2022, pinto beans, navy beans, and black beans were mostly used up. These are essential for me to replenish.
- Broth: Some broth in jars, with more in the freezer waiting to be canned. Thanksgiving turkey will provide an excellent source for additional broth.
- Jams and jellies: Balsamic onion jam, strawberry jam, apple chili jam, and apple jelly. We don’t use these frequently, so they won’t be prioritized this season.
- Meat: A few jars of pork are leftover, but I don’t use much pork or beef, so no additional canning is needed there.
- Soups and ready meals: Farmer’s soup, beef stew, and similar meals in jars are something I want to expand on this year. I enjoy having meals prepped and ready in jars for quick and convenient dinners.
Overall, the pantry was a mix of half-used jars, empty shelves, and a lot of potential. It was clear that the priority would be replenishing staples—especially chicken, beans, and broth—while experimenting with more meals in a jar for variety.
My Favorite Canning Supplies (affiliate links)


Planning the First Canning Project
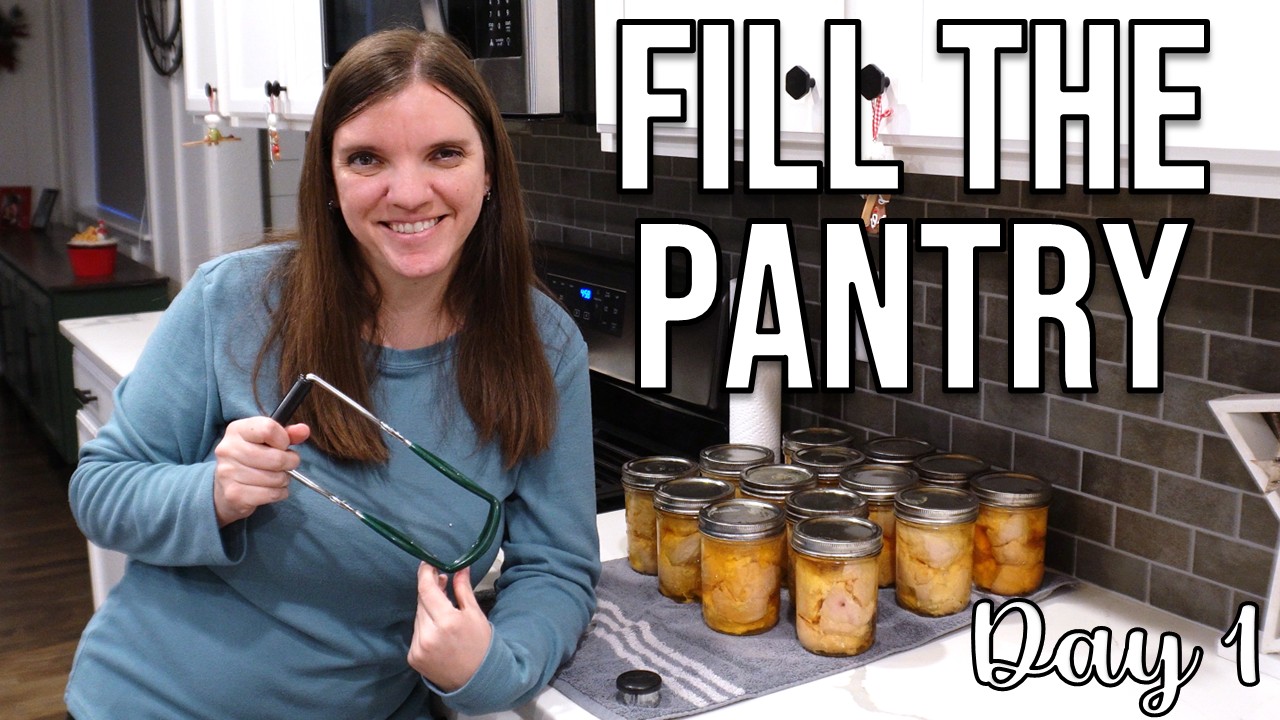
For this round of canning, I decided to start with chicken. Recently, I’d purchased a bulk delivery, which was super convenient and budget-friendly at $2.69 per pound, plus some additional discounts. I also had the chicken already portioned, so all I needed were jars, cutting boards, and a canner ready to go.
I pulled out my wide-mouth jars, as the maximum I could process at a time was 18 jars. It’s always satisfying to see the empty jars lined up, ready to be filled with fresh ingredients. Raw packing chicken is simple: no pre-cooking is necessary, just chop, pack, and add to the canner.
I decided to go with chicken thighs this time because they’re cheaper than breasts, and I’ve found they work well for canning. While I prefer the texture of thighs, chicken breasts are much easier to handle, so sometimes I switch depending on my energy level and the amount of chicken I have.
Prepping the Chicken
The chicken was carefully prepped on a small, dishwasher-safe cutting board. I trimmed excess fat and separated the pieces to fit neatly into the jars. One of the perks of canning in smaller batches is that it feels more manageable than processing massive quantities all at once.
I organized the remaining pantry items while prepping, making note of what needed replenishing for future canning projects. Beans, tomatoes, and broth are always on the priority list, but this year I’m also experimenting with ready meals in jars. These meals are perfect for busy days or quick dinners, and they help fill the pantry more efficiently.
Cold Packing and Canning Setup
For this batch, I used a cold pack method. Normally, I preheat jars, but I opted to start with cold jars since the raw-packed chicken and broth would heat up in the canner anyway.
I added water to the canner along with a splash of vinegar to counteract the hard water in our area. The vinegar also keeps the jars looking clean and clear.
Next, I carefully filled each jar with chicken pieces, leaving appropriate headspace for safe canning. Wiping the rims was essential to ensure proper sealing. Once the jars were in place, it was time to build pressure.

Pressure Canning Chicken
Pressure canning can feel intimidating at first, especially with raw-packed poultry. Safety is paramount because under-processed chicken can harbor bacteria. Using the USDA Complete Guide to Home Canning, I ensured every step was correct. For pints of raw-packed chicken, processing time is 75 minutes once the canner reaches 15 pounds of pressure.
It took about 35 minutes to reach the required pressure with cold water in the canner. While waiting, I stayed organized and made sure the kitchen stayed clean. I prefer canning during daylight hours because handling hot jars in the dark is risky.
Once at 15 pounds of pressure, I set the timer for 75 minutes. The canner started venting steam, and I donned heat-resistant gloves to avoid burns. Managing pressure can feel stressful at first, but it’s crucial to maintain a steady level without fluctuations.
Keeping Track and Multitasking
While the chicken processed, I prepared for the next canning projects. Beans were measured and ready for soaking, and I checked my inventory to see how much more broth I could process. This preparation ensures a smoother workflow and maximizes efficiency.
The beauty of pressure canning is that once the jars are in place, I can step back and let the canner do the work. Still, it’s important to monitor everything carefully, especially with raw-packed chicken, to avoid accidents or under-processed jars.
After the First Batch
Once processing was complete, I removed the jars carefully, allowing them to cool slightly before checking the seals. Hearing the “ping” of properly sealed lids is one of the most satisfying sounds in the kitchen. Any jars that didn’t seal correctly went straight to the fridge for immediate use.
The golden color of the chicken broth was particularly striking—rich, warm, and inviting. Seeing the pantry slowly start to fill is extremely motivating, and it reminds me why I enjoy home canning so much.
Next Steps and Planning Ahead
The next day, I plan to focus on beans—navy beans and pinto beans will be soaked, prepped, and ready for the canner. I calculated quantities to ensure a full canner load without waste:
- 2 pounds of navy beans would fill nine pint jars.
- 1 pound 6 ounces of pinto beans would be enough for a smaller batch.
With beans prepped, I’ll continue to stock the pantry, including broth and future ready meals. I also plan to reassess other pantry items like jams and vegetables, making sure nothing goes unused and every shelf is efficiently utilized.
Tips for Restocking Your Pantry
- Assess inventory first: Take note of what’s running low and what can wait.
- Start with staples: Chicken, beans, and broth are must-haves for a stocked pantry.
- Prioritize safe canning methods: Use tested recipes and proper processing times.
- Organize jars by type: Keeps your pantry efficient and easy to navigate.
- Plan for seasonal projects: Think about meals in jars for winter convenience.
- Batch canning: One canner load per day is manageable and reduces stress.
By taking small, manageable steps, you can restock your pantry efficiently and safely. Canning doesn’t have to be overwhelming, and once you see those shelves filling up, it’s incredibly rewarding.
Conclusion
Starting from an almost empty pantry, this canning session marked a fresh start for winter stocking. Raw-packed chicken was the first step, and over the coming weeks, I’ll continue with beans, broth, and ready meals in jars. By planning, prepping, and prioritizing safe canning practices, the goal is a fully stocked pantry that will last through the colder months.
Whether you’re a beginner or seasoned canner, taking the time to plan and restock your pantry pays off in convenience, savings, and the satisfaction of homemade meals. I can’t wait to continue this journey and share updates as the pantry fills up with wholesome, home-canned goodness.


