
Recipes Used:
- BANANA BREAD RECIPE – Preheat oven to 375*
- Ingredients :
- 3/4 Cup Sugar
- 1 tsp vanilla
- 1/2 cup softened butter
- 2 cups flour (GF or regular)
- 2 eggs
- 1 cup mashed bananas
- 1 tsp baking soda
- 1/3 cup milk
- 1/2 tsp salt
- 1/2 – 1 cup nuts or chocolate chips
- Grease a 9×5 or 8×4 loaf ban. Combine sugar and margarine and beat until light and fluffy then add eggs, bananas, milk and vanilla. Add flour, baking soda, and salt. Add nuts or chocolate chips. Pour into greased pan. Bake 45-50 minutes or until toothpick comes out clean. Cool for 5 minutes then remove from pan.
- GF FLOUR RECIPE
- https://keepitsimplediy.com/2023/06/03/the-best-gluten-free-flour-mix/
Products used in this video (Affiliate links)


Video Summary
Hey everyone! Today we’re making gluten-free banana bread using the homemade gluten-free flour mix I showed you in my previous video (if you missed it, go watch that first!). I’m following a standard banana bread recipe but substituting my custom gluten-free flour mix. I use ingredients I keep on hand like powdered milk instead of regular milk since we don’t drink milk in this house and a whole gallon would go bad. I start by mashing softened butter and bananas together using a potato masher – that’s my fancy trick! Then I add eggs, sugar (three-quarters cup), salt, vanilla, the milk mixture, and mix all the wet ingredients first. For the dry ingredients, I add one teaspoon of baking soda to my two cups of gluten-free flour mix and incorporate it into the wet ingredients. An important tip for gluten-free baking: let the batter sit for a bit before baking to let the flours fully hydrate. I preheat the oven to 375 degrees and make sure to grease my pan well (I learned my lesson from when I forgot to do that with my sourdough bread!). I decided to add chocolate chips at the last minute because I usually do and forgot this time – better late than never! After baking for about 45-50 minutes, it came out looking beautiful, though the center sunk a little bit which means I should have cooked it a minute or two longer. Here’s something really cool though – two days later while editing this video, I’m eating some of the banana bread and the texture is now perfect! It needs to sit for a couple days to get that texture that’s really similar to regular banana bread. At this point I can barely tell there’s any difference – just a slight flavor variation but the texture is spot-on. I store it in a great container with a lid right on the counter. You can use this recipe with regular flour too, or any store-bought gluten-free mix, but I’ve tried tons of those and I prefer my homemade mixture!
Video Transcript
Hey everyone, welcome back. I’m Kari and this is Keep It Simple DIY, and today we are going to be making banana bread. But not just any banana bread, we are going to be making gluten-free banana bread with our own homemade gluten-free flour mix. If you missed this video, it’s a great one. I will post a link to it. And go back and watch this one, so pause this video, go watch the recipe, and then come on back and I will show you how to make the banana bread.
To make the banana bread, I’m just going to be following a standard banana bread recipe but substituting my gluten-free flour. So what we’re going to need is two eggs, two bananas, the flour, sugar, salt, baking soda, vanilla, butter, and milk. I’m going to be using powdered milk. I like to use powdered milk for my baked goods. We don’t drink milk in this house, and so if I were to buy a gallon, it would just go bad. I do have some milk from a gallon that I bought that I put in the freezer, but I froze it in one cup quantities and I don’t need that much, and I don’t have anything else to do with the leftovers.
So what I’m going to do here is I have some butter that’s softened already in my bowl, and I’m going to add the bananas to it. My fancy trick for mashing bananas is to just use a potato masher. So I’m going to mash the bananas in here, and I’m probably going to mash the butter in with them once I get them all mashed in. Not probably, gonna do it.
These are mashed. We’re adding two eggs. I also need to let you know I did preheat the oven to 375 degrees. Okay, and we’ll see how far we can get with this potato masher. I’ll use a whisk if I need to switch, but we’re going for it with the potato masher still.
If you hear noise in the background, that is my kitty cat playing. All right, I am going to look over at the recipe that I have. We need three-quarters cup of sugar. So I have a half cup measure here I’m going to use to get my three-quarters cup. So there’s half, and there’s a half of the half, which gives me three-quarters.
And then salt, I need how much salt? Half of a teaspoon. So here’s my teaspoon. We’ll take half of that. And vanilla, you just measure it with your heart. I’m almost out of this vanilla. It’s not even real vanilla. It’s imitation vanilla. Yeah, I think I’m, I think I’m gonna switch to a different mixing tool.
All right, we are going to add our milk, and it calls for a third of a cup of milk. So what I’m going to do is take just a little bit of the milk powder, that’s probably too much, and then almost but not quite the full one-third. The milk powder makes up for the difference there.
Like any recipe, we want to mix all of our wet ingredients first and then add the dry. All right, I do need one teaspoon of baking soda in this recipe, and I’m going to add that to our flour mix, and I’m going to just mix it in a little bit. And then two cups of flour, which we mixed, our flour to be exactly two cups. It looks a little bit more than two cups now, eyeballing it, just because I’ve added so much air into it as I was sifting it. But I am going to add this whole amount in.
Now this recipe is, oh the cat just brought me the toy. Hi, do you need to play?
Now this recipe is one that you can make with regular flour as well. All you got to do is use regular flour instead of the gluten-free flour. You can also use any gluten-free mix you get from the store, but I’ve tried a bunch of those and my preference was the mixture that I made myself.
So I’m just going to mix this up until it’s well combined. And then with gluten-free flours, you really want to let them sit for a little bit before you bake them, just because you want them to fully hydrate. So we will make sure to let this sit for a little bit. That’ll be fine because the oven’s not quite preheated yet anyways.
Okay, I think we’re all combined. Let me grab a baking dish. And I have the butter package here that still has a little bit of butter on it, so I’m going to use that to grease the pan. Okay, our oven’s preheated. We’re still going to let this sit for a second before we put it in.
If you watched my sourdough bread recipe, you’ll notice I forgot to grease the pan, and we are not forgetting that today. Let’s add this into here. Smells delicious.
I should mention that when you get the batter to this point, you could add anything into it that you want. I usually add chocolate chips, but I forgot to. So I might, let’s see, do I want to go back and add some in? Probably. Let me grab them. Better late than never. I also don’t like a ton, so that’s fine that I didn’t put them in ahead of time.
Okay, that’s what we’re gonna do. I’m gonna give them a little mix. I’m gonna try to be careful not to touch the sides because I don’t want to screw up that butter layer.
All right, I’m going to let this sit just while I put everything away, and then I’ll stick it in the oven.
All right, I’m going to put the banana bread in the oven for 45 to 50 minutes, and then we will be back to check on it.
I was able to smell the banana bread, and so I came out here to check. And it said we just had four minutes left, and I just checked it with a toothpick and it looks done. So I am going to take it out.
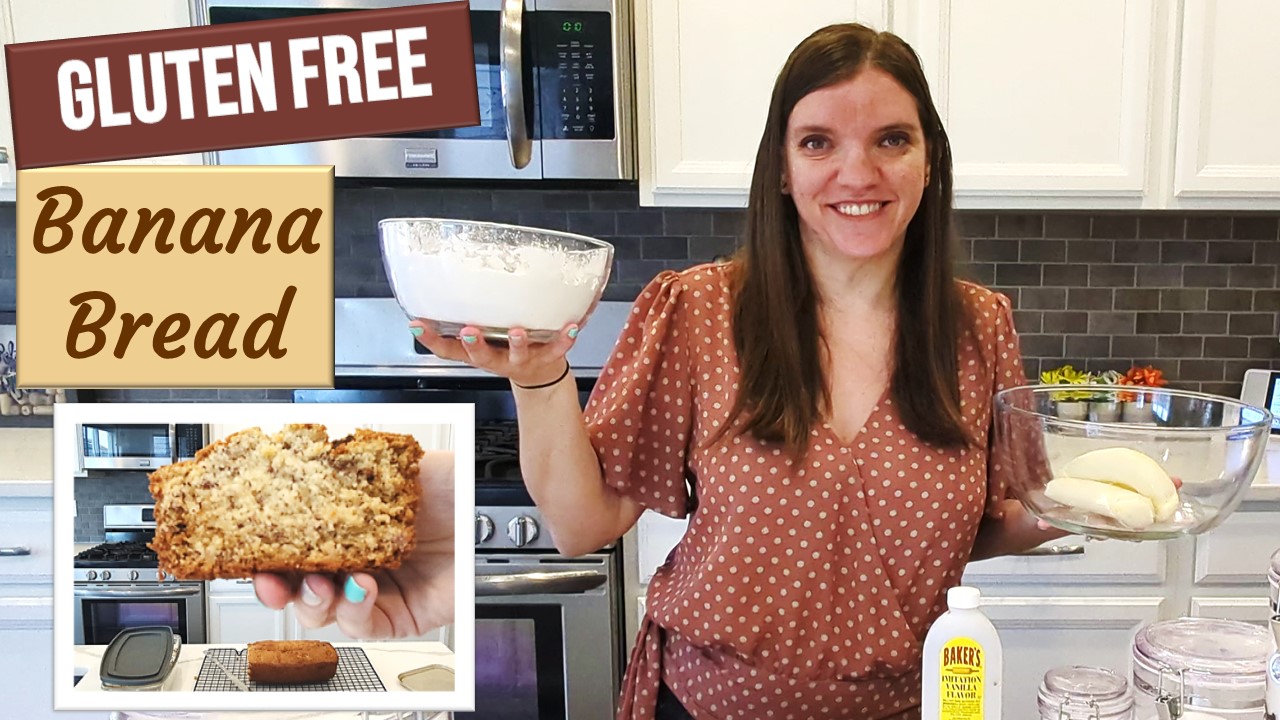
All right, here it is. It’s beautiful. I am going to let this sit here for a little while, and then I will tip it out onto a cooling rack. And then something really cool about this container is it has a lid, and so I can just slice up the banana bread, put it back in here, and put the lid on it. So I will be back once this is cool.
All right, our banana bread has cooled enough for me to get it out of the container, and I am going to slice into it and give it a taste test. Before I do that though, I wanted to mention that something weird happened here where the inside sunk a little bit. I think I probably should have let it cook for a minute or two longer because I haven’t had that happen before. So make sure to cook it a little bit longer than you’re expecting it to.
And then also, this is the container that I use and it has this lid. So once this is completely cool, I’m just going to put the slices back in here and put the lid on it, and this will be great for storing on our counter.
All right, I need a bite of this. Oh, that looks, looks there. Let me show you. Okay, get some butter. I guess we’re going for a lot of butter today. It’s not even real butter. Mmm, delicious.
It’s been quite a while since I’ve made anything gluten-free, so I can definitely tell it’s different than regular flour, but it’s still delicious.
Amazing editing, Carrie jumping in here. I did put the banana bread back into the oven for about five minutes that day. It’s two days later now, and I’m actually eating some banana bread while I’m editing this video. And the texture definitely is more of how I remembered it now that it’s been two days. So it needs to sit a little bit for it to get that texture that’s really similar to banana bread. So this is perfect at this point. I can barely tell if there’s anything different. The only difference would be a slight difference of flavor, but the texture is pretty much spot on for banana bread.
All right, thanks so much for being in my kitchen with me this morning. If you like this video, please give it a thumbs up and subscribe, and I will see you next time. Bye!


