Welcome back to the blog! I am so excited that I finally have another DIY project to share with you! Since this year has been mainly about moving, there weren’t really any DIY projects to do around the houses. But, we are now moved in and I had to leave just one thing undone so I would have something to work on!
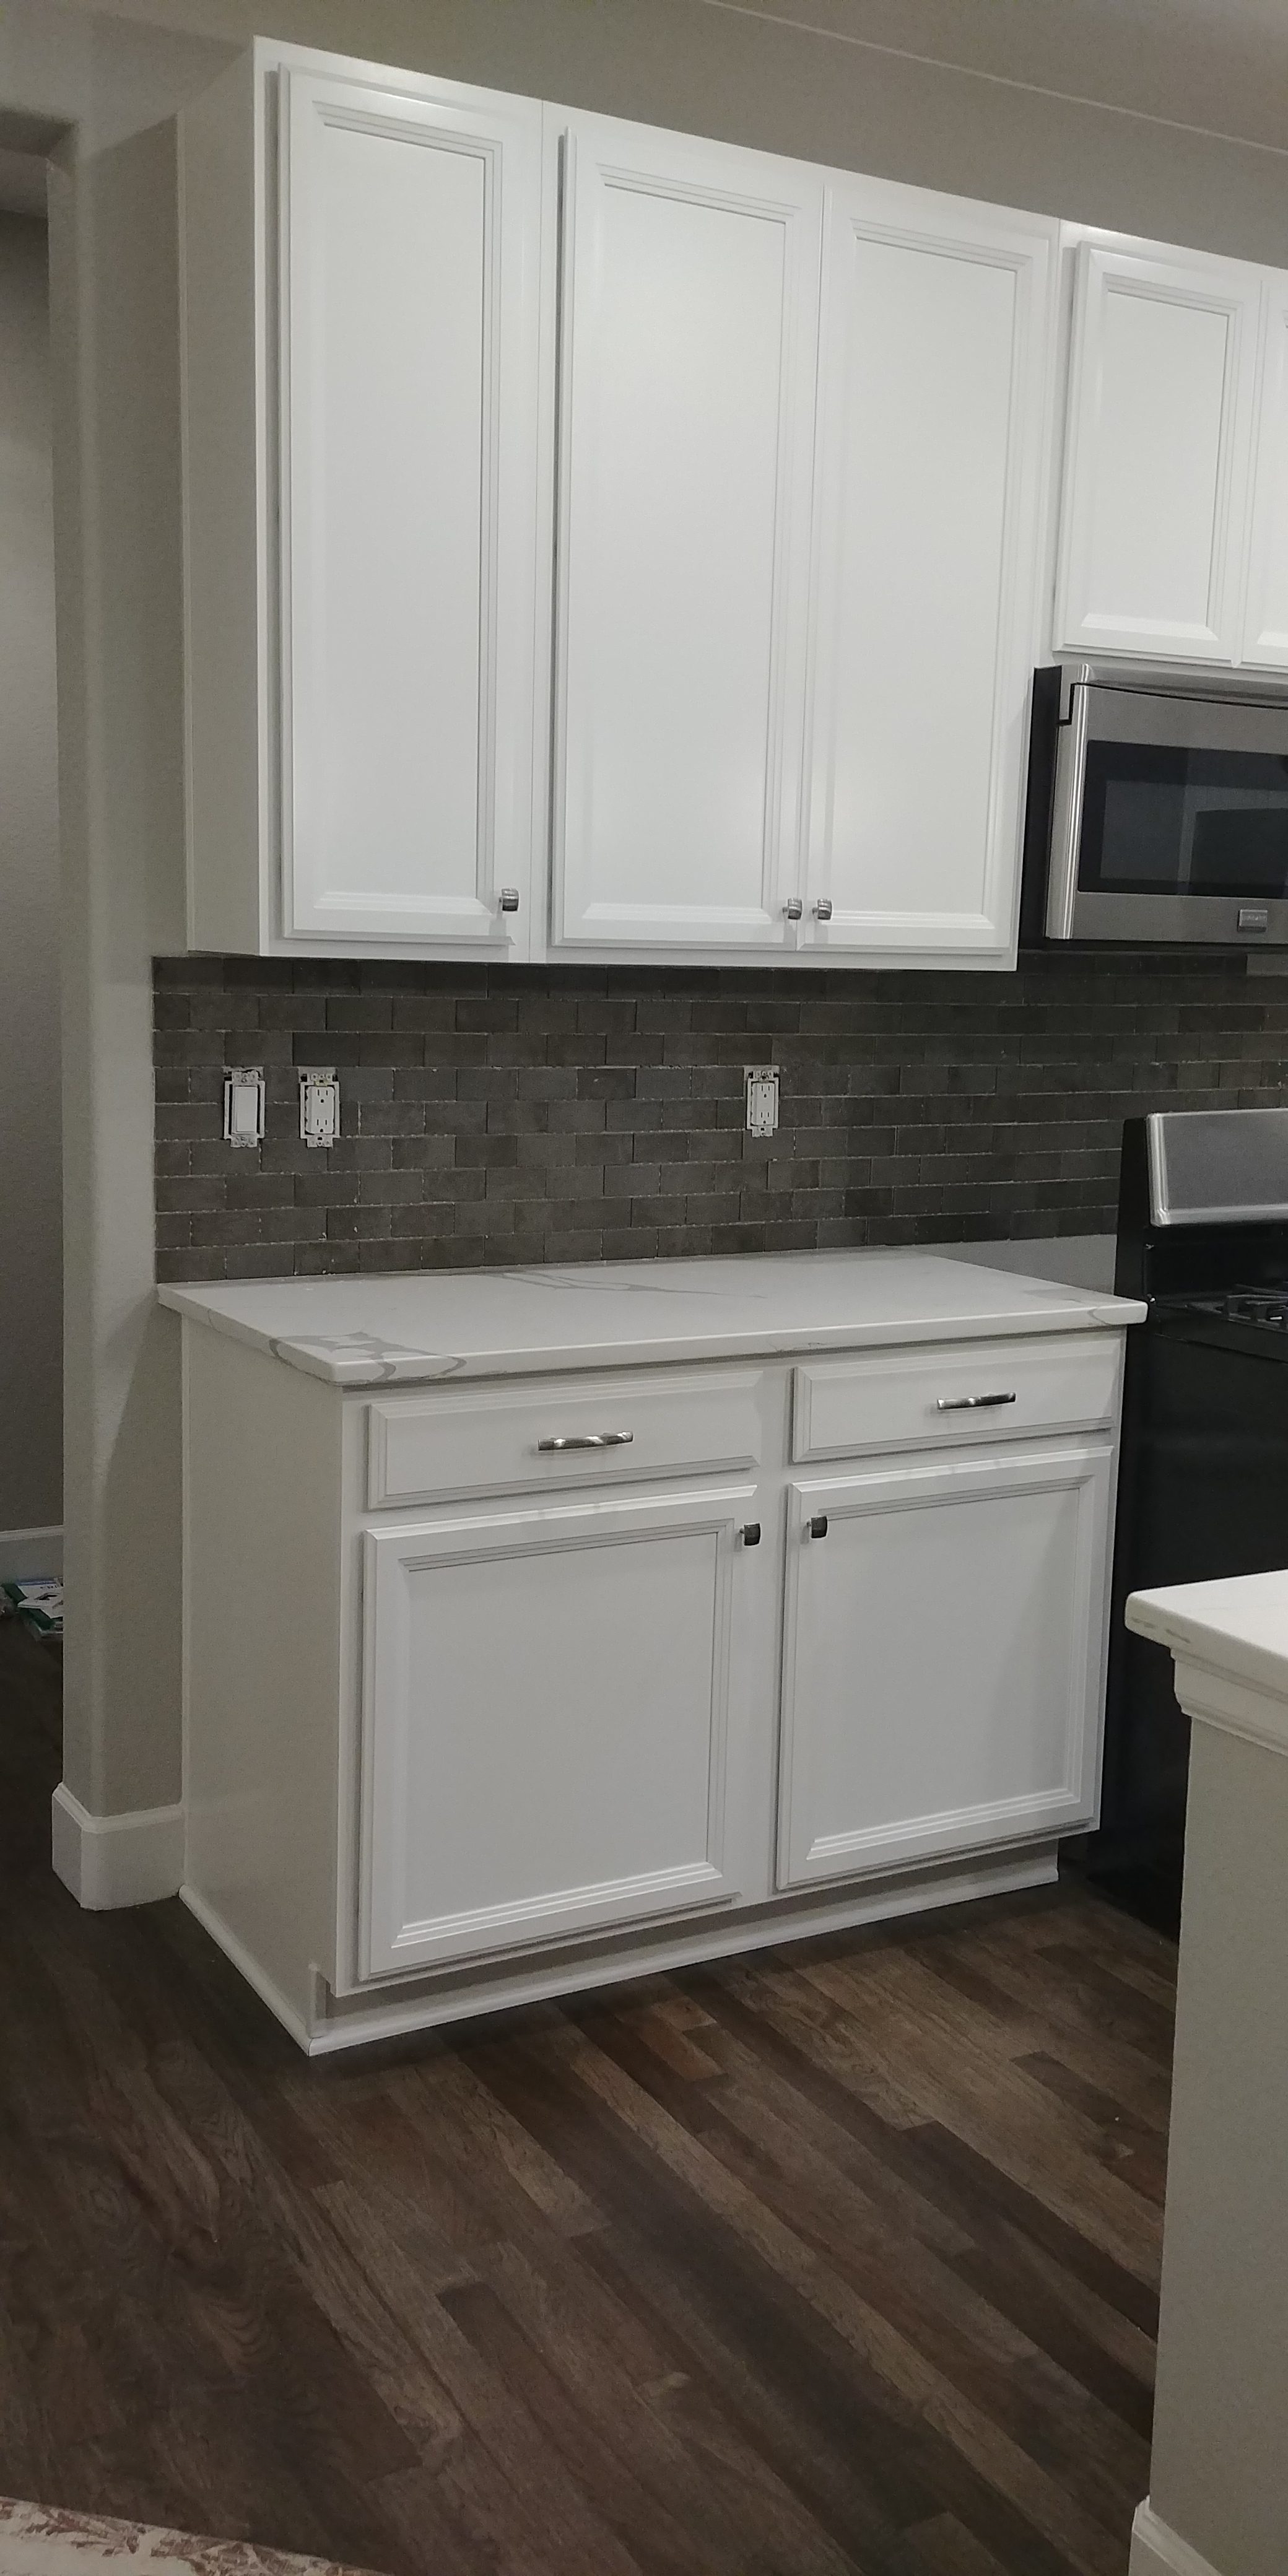
If you’ve read my other DIY posts, you probably know that I ALWAYS forget to take a before picture. Luckily since I’d taken many pictures of the house before we moved in, I was able to find one. Not the best, but we’ll go with it.
Before
Tip #1: buy a ton of samples
Yes! We went to three different tile stores and bought at least twenty samples. We only chose samples that fit the style we were looking for.
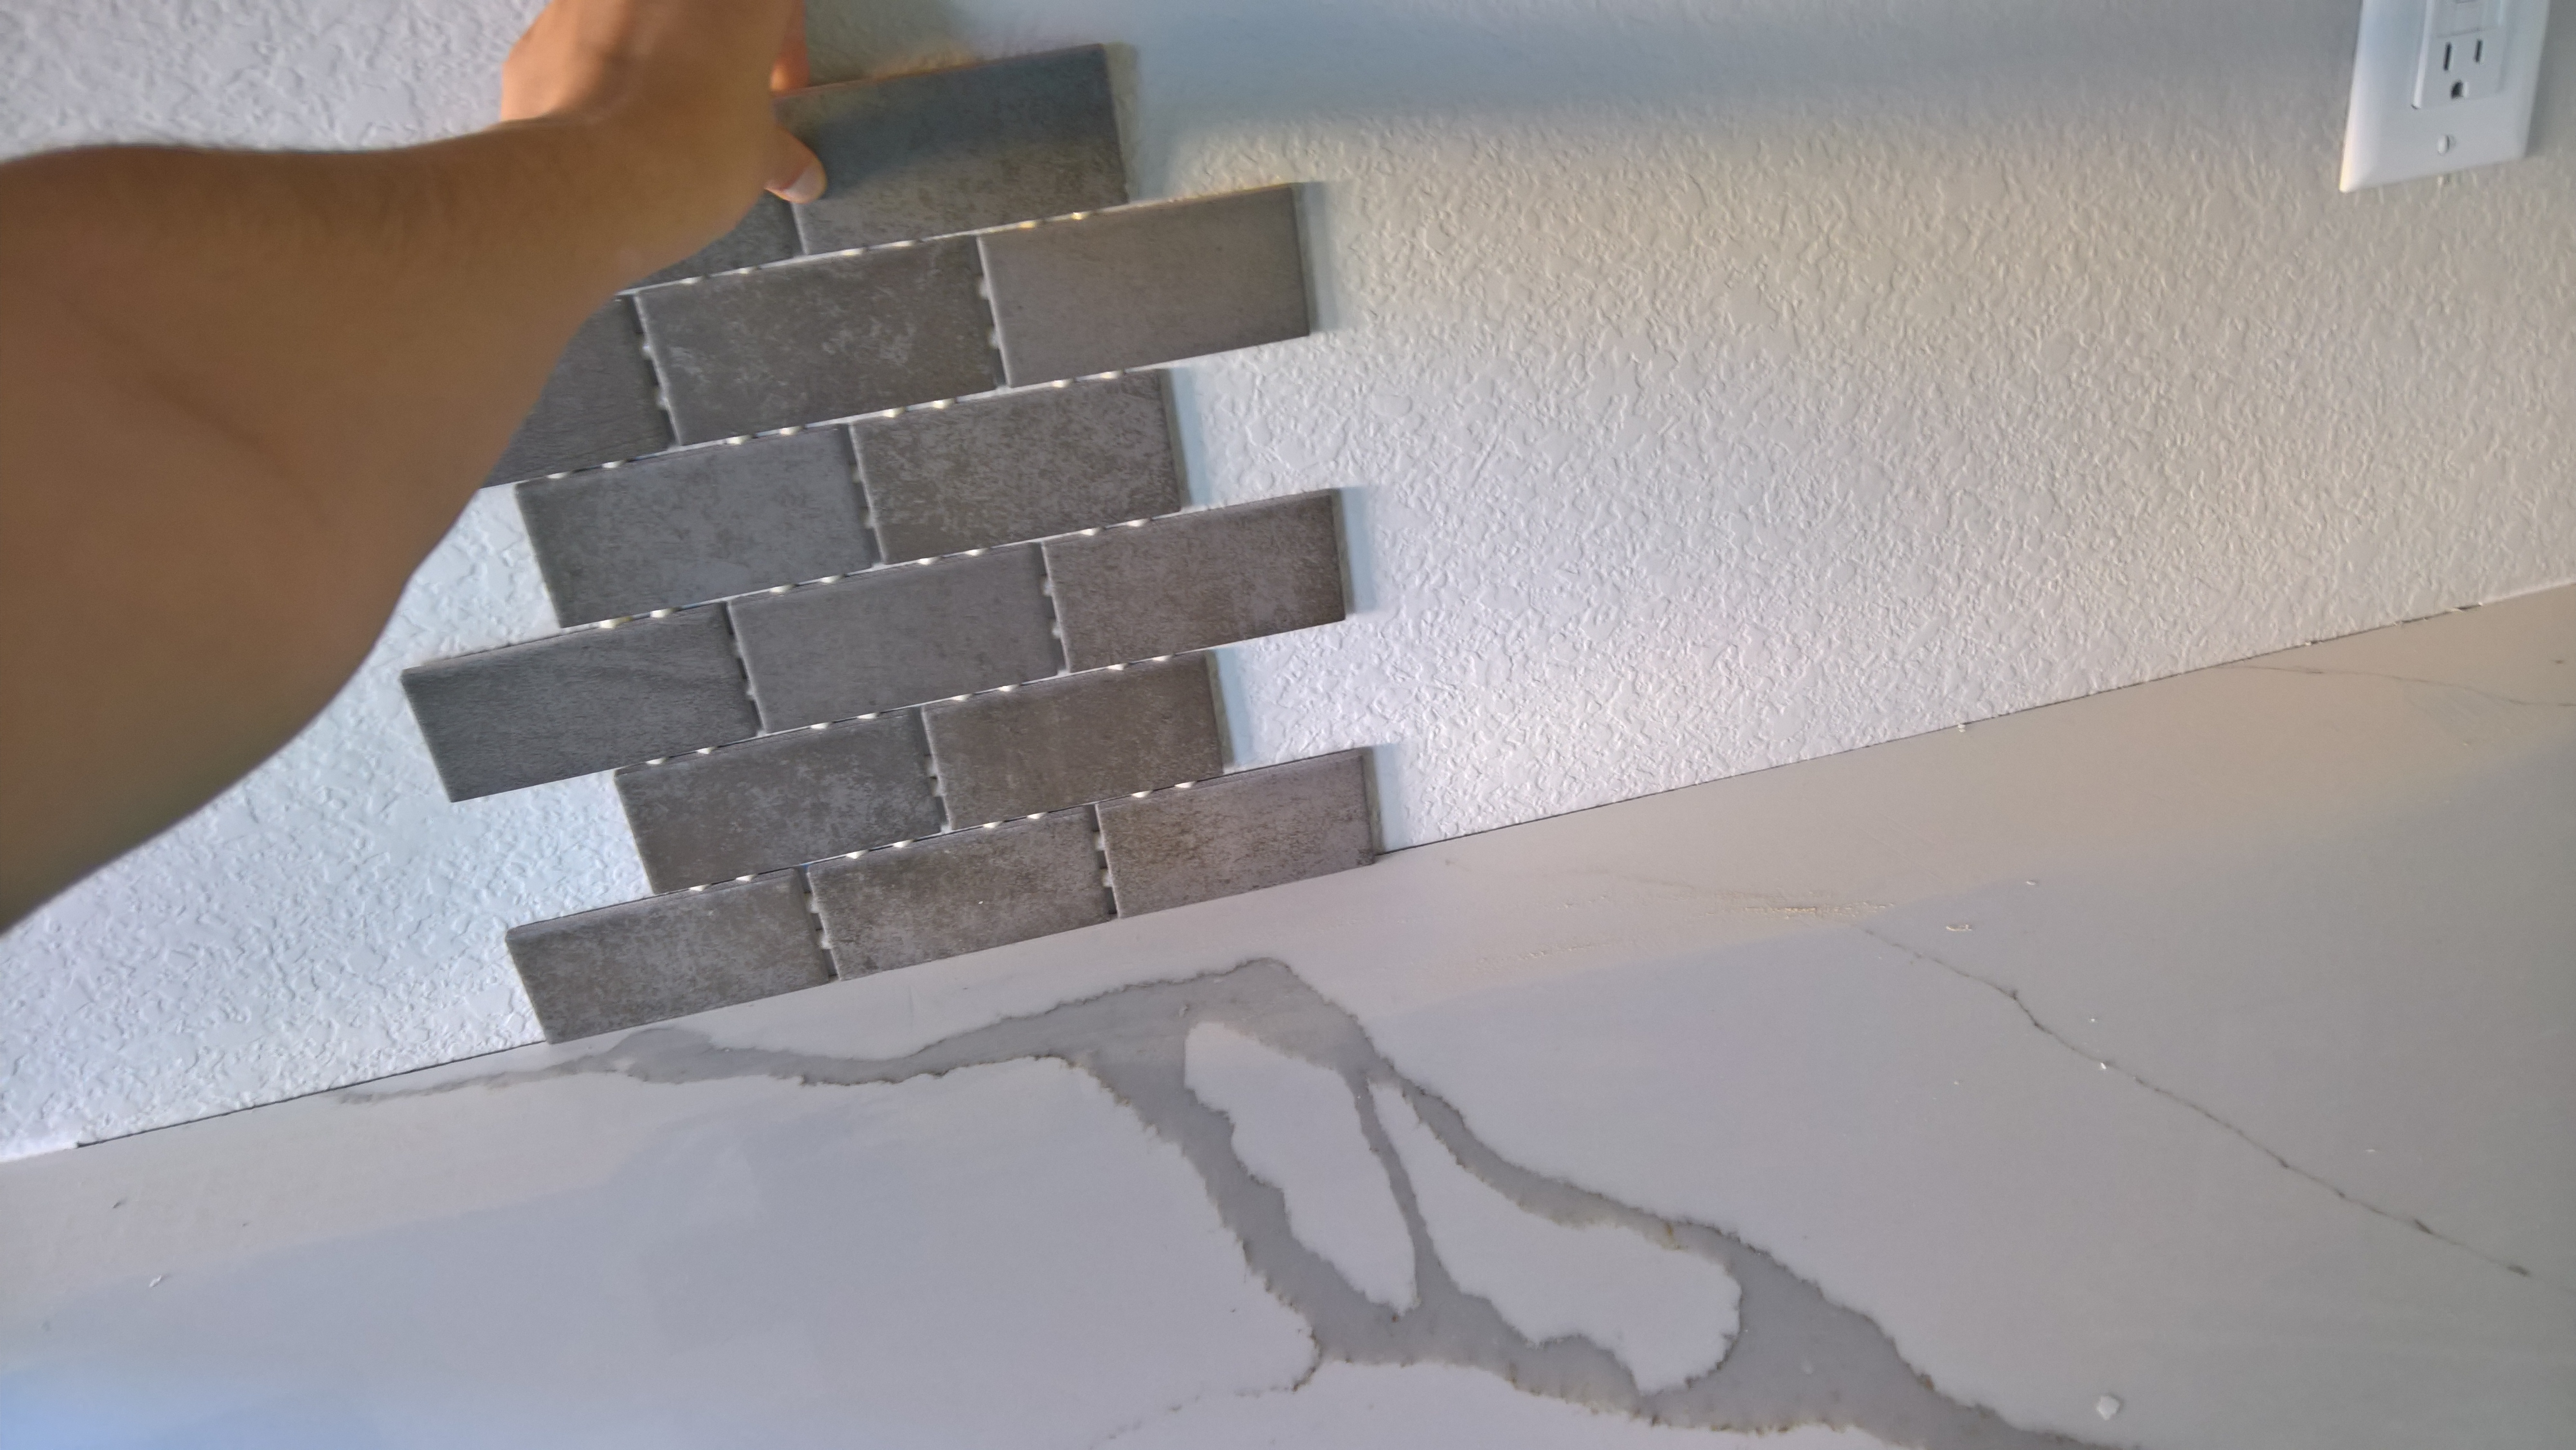
Tip #2: hold the tile where you want it to go
There were so many tiles that we loved and thought were going to be the one. The odd part was that when we put them next to the counter we hated them. We finally landed on this tile which had a good mix of brown and gray and matched the counter wonderfully. It also just happened to be the cheapest tile out of all of them. 😀 Can’t beat that right!?
Tip #3: Buy extra tile just in case
We bought about fifteen extra 12″ x 12″ tiles and I’m glad we did. We didn’t have to stress if we were going to have enough after breaking tiles at all. We ended up returning the ones we didn’t need.
Tip #4: Invest in a tile cutter
Really, I’m not sure invest is the right word. I got a tile score & snap cutter for around $20 from Lowes. It made cutting the tiles so easy! I did take an entire 12″ x 12″ section to practice cutting and get the feel right.
DIY Your Kitchen Backsplash with these great tips! Click To Tweet
Tip #5: start from the side most important to you
I know everyone says start from the middle and work your way out. I decided that would be too difficult because the middle was behind the stove and I figured I would get all mis-aligned. Instead, I decided that it was most important for me to have the left side be clean lines with a full tile/half tile mix. I went from there to the end and then did the little side. I got lucky too and the other outer edge ended up at full/half tiles.
Tip #6: Clean as you go
It does seem like the adhesive is hard to keep clean since it keeps smearing but try to clean it up as you go. It will make it a lot easier in the long run.
Tip #7: put a drop cloth down before you grout
Ok, lesson learned here. Grout stains the counter! Well, I got the stain out, it just took a ton of elbow grease. The last time I grouted I used white grout on white tile on a white counter so I didn’t know that it would be hard to get out.
Tip #8: Use painter’s tape around edges
I actually got lucky and had someone stop by who knew how to do a back splash right when I was starting to grout. He told me to put painter’s tape a bit out from the top and side edges then grout there to have a clean edge. Best tip ever! I also taped the drop cloth to the counter to avoid having any other issues.
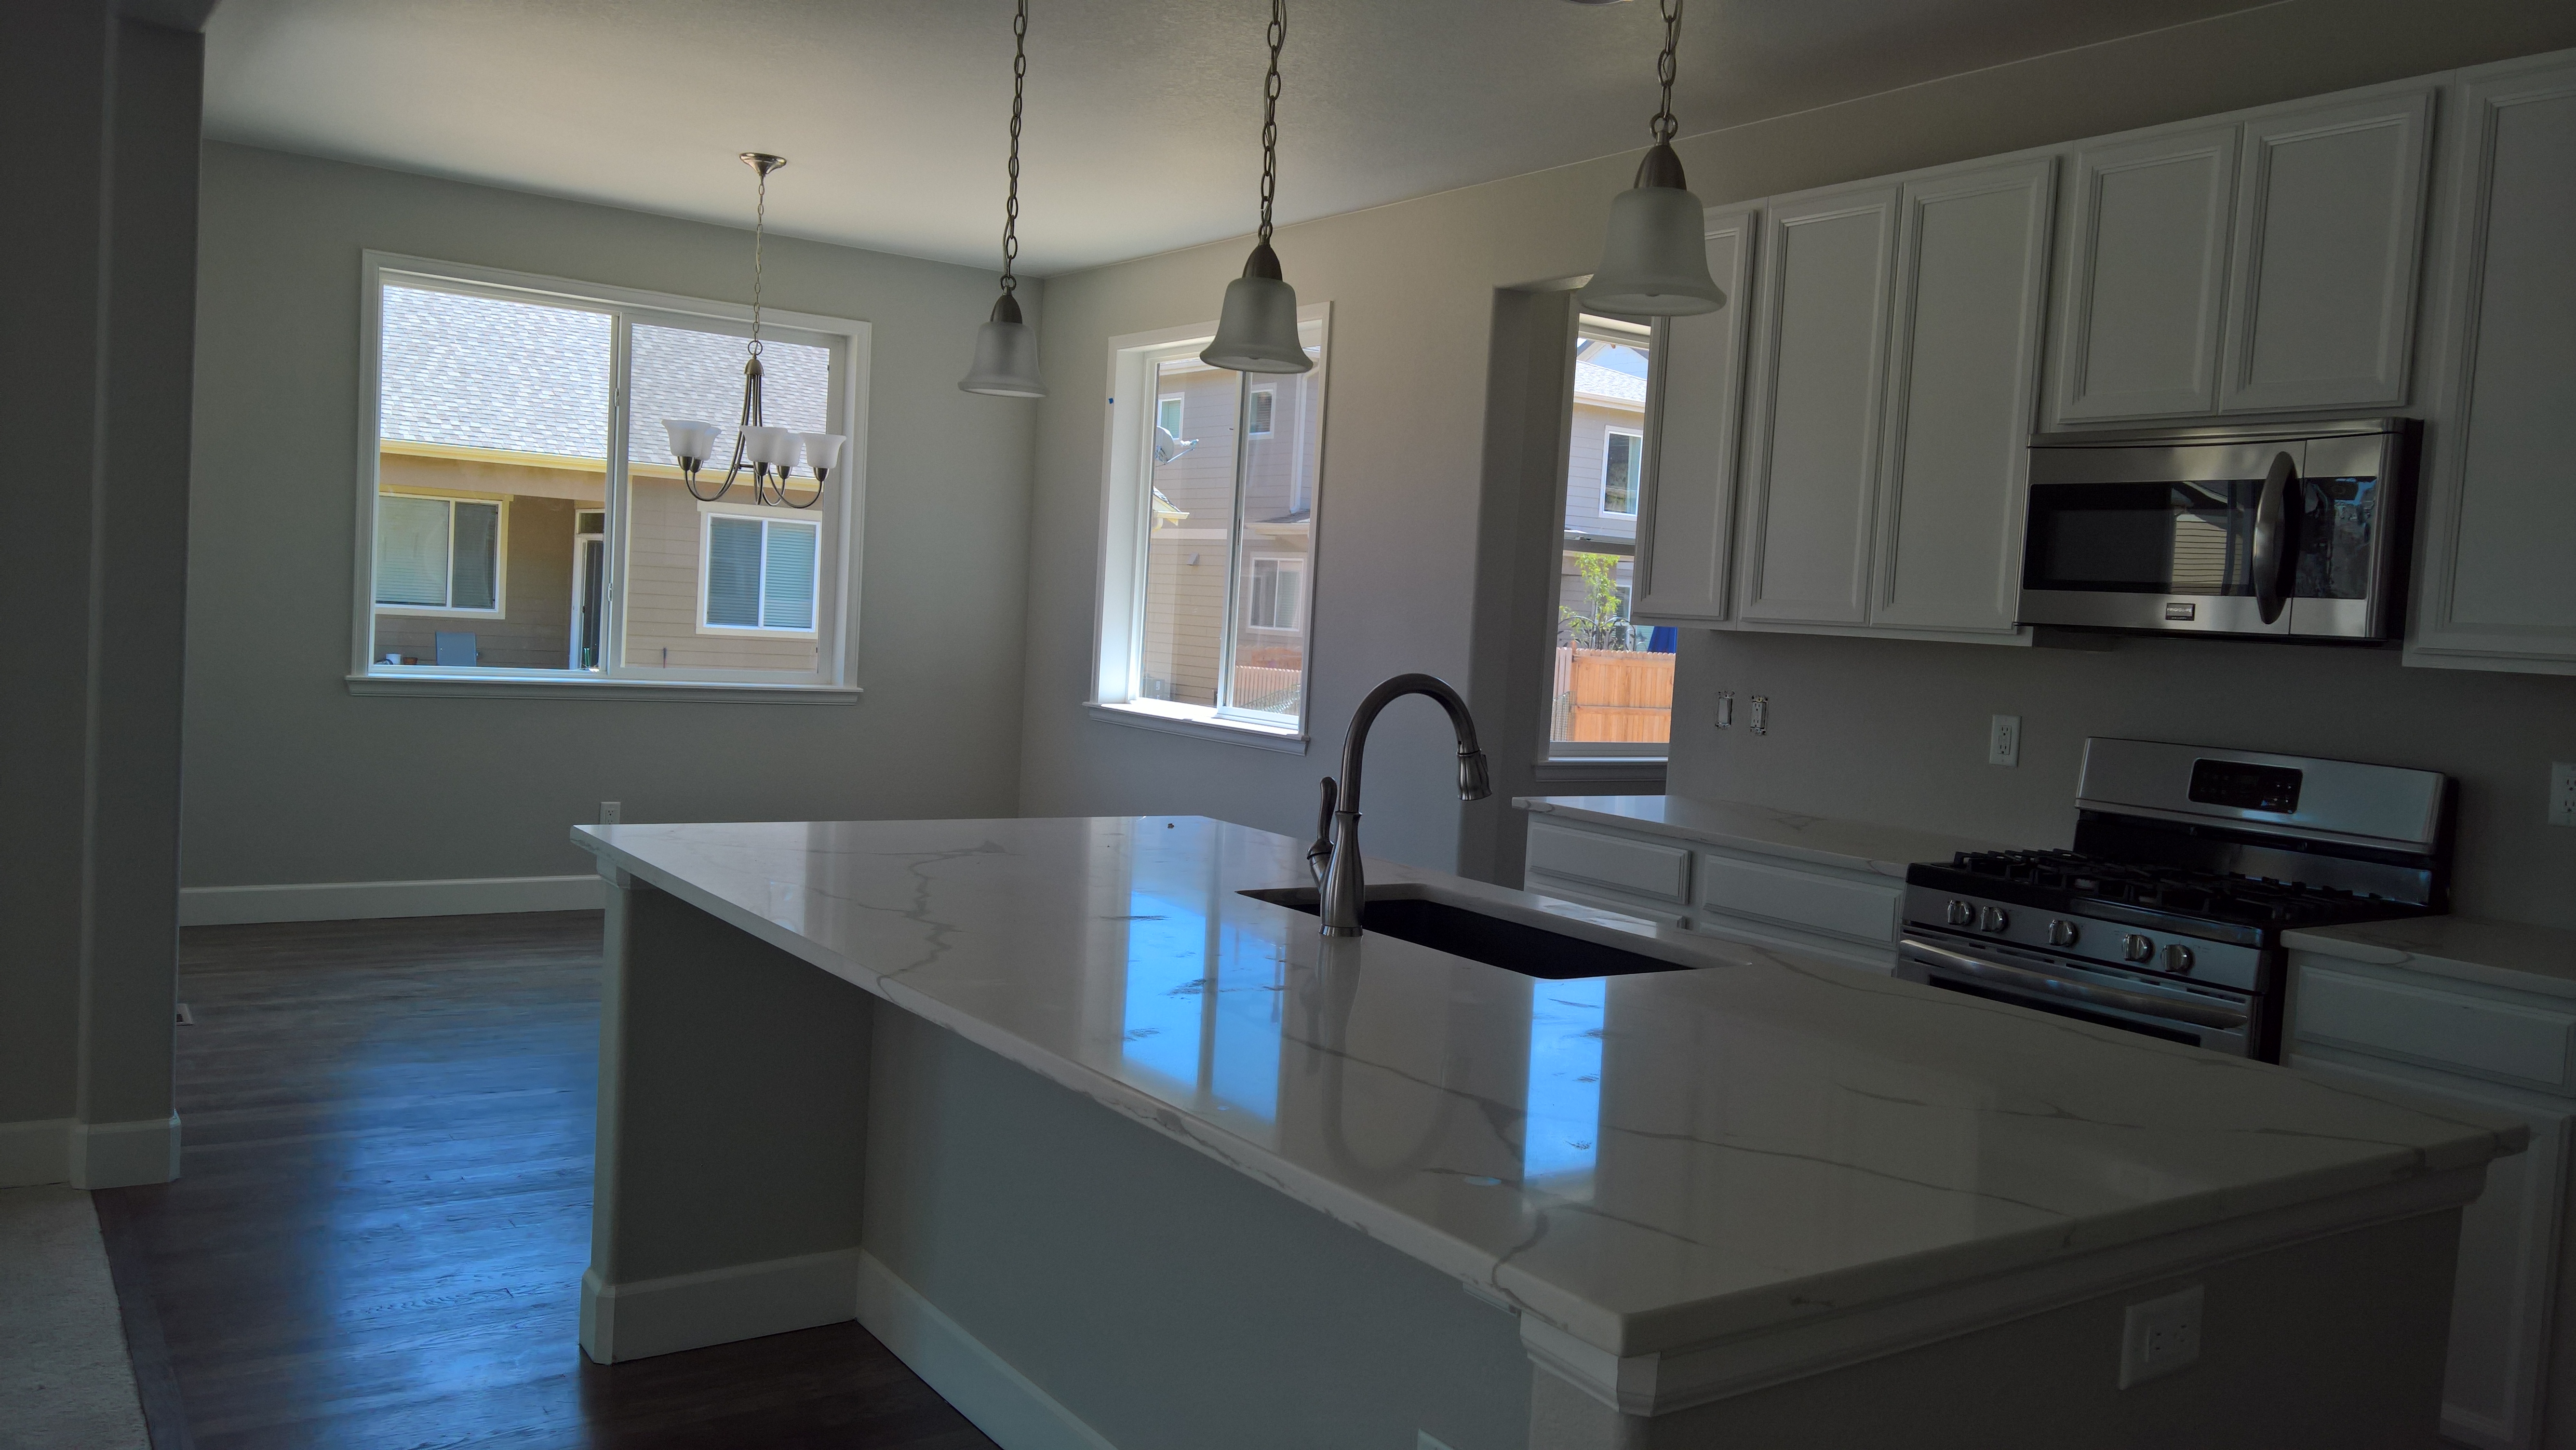
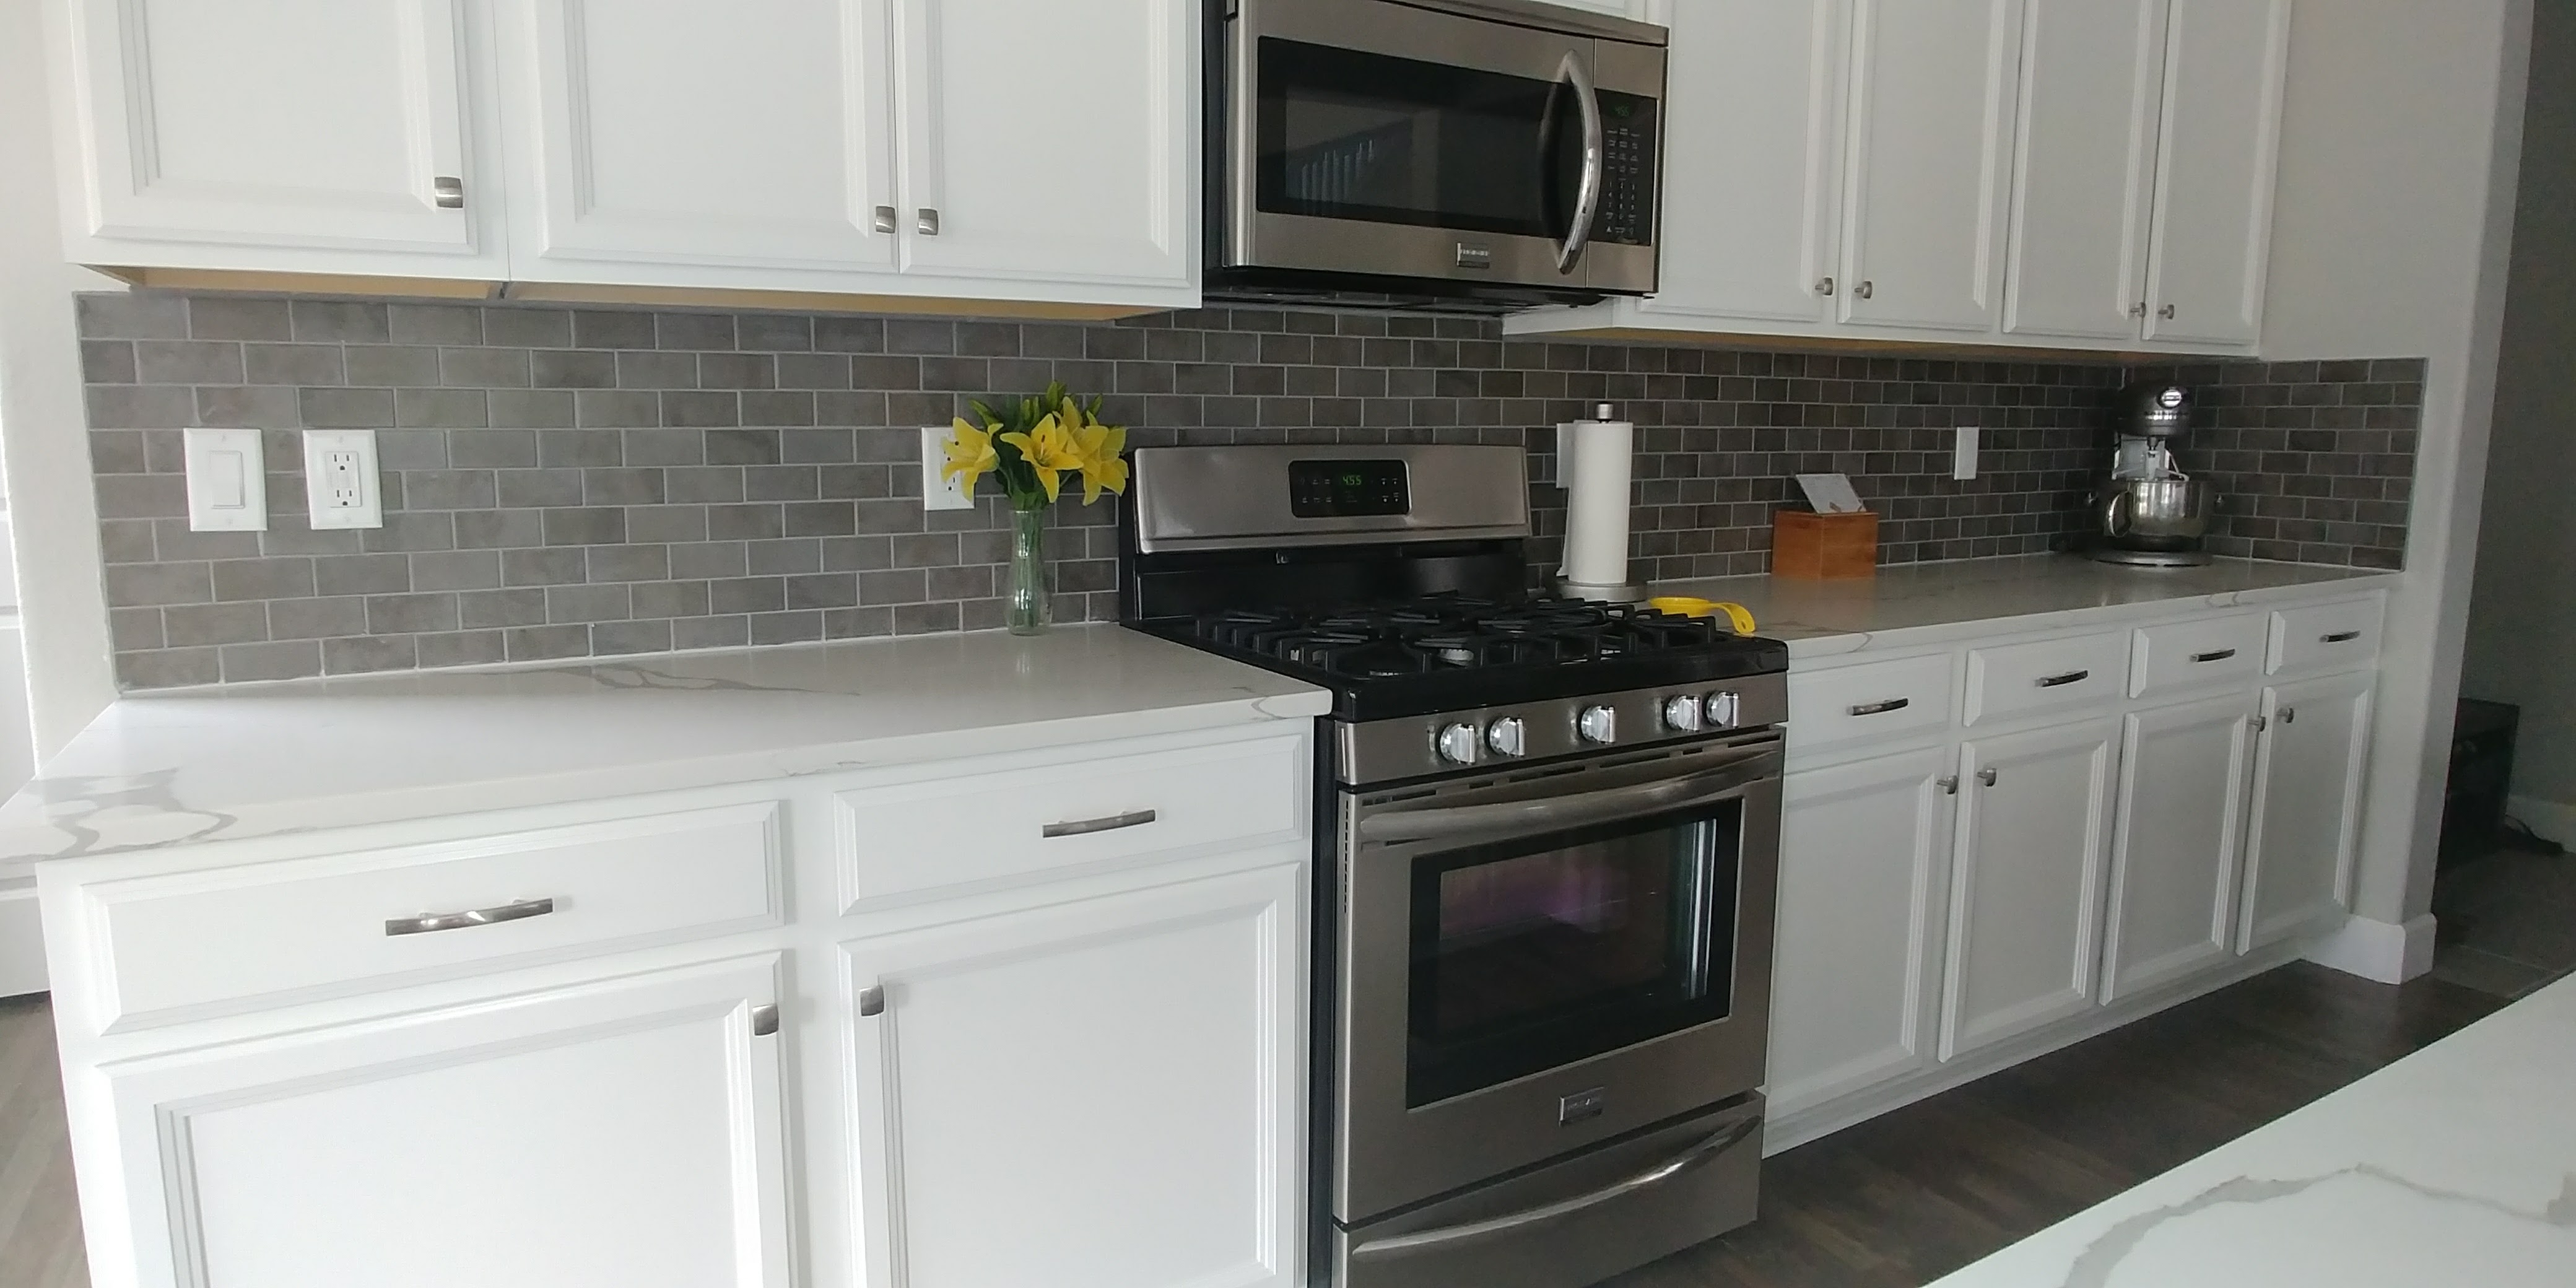
I am very happy with how the back splash turned out! I was definitely nervous to do this project since the house is brand new. Luckily, it worked out just find and the back splash looks great with our kitchen design!
After





You did such a great job. We have always chickened out when it comes to tile and hired someone but we do pick out and buy our own tile. With your DIY tips I feel like I could actually tackle a tile project.
I was really nervous about it since this is a brand new house. But it turned out great!
I really love the look of a backsplash. I love that I can do it myself!
My fiance and I are currently looking to buy a home so this is very helpful. I love the idea of buying a ton of samples 🙂
It really turned out GREAT!
Thanks for joining us at last week’s Reader Tip Tuesday. I’m hoping you join us this week: http://www.jodiefitz.com/2017/08/29/reader-tip-tuesday-weeks-craft-recipe-party/
We’re open all week & growing. Hope you have a GREAT weekend. xo