 |
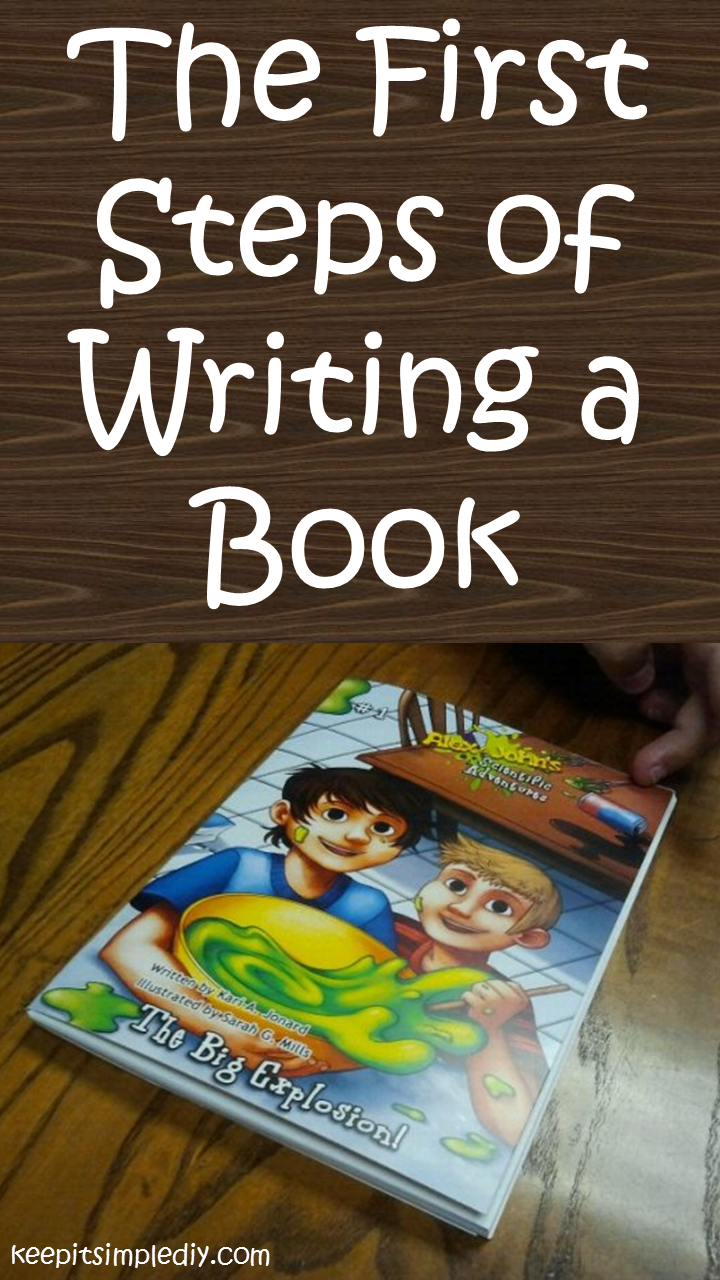
| The first proof of AJSA – The Big Explosion 2011 Buy the digi book here or buy a hard copy here. |
Remember back to the days of first grade when we were all learning how to write. As simple as it seems, this is exactly where to start. These steps do not need to be done in this order. Often, they are all created simultaneously.
- Choose a topic. What do you want to write about? (I chose scientific adventures as my topic.)
- Determine the problem and solution. What happens, and what is done to remedy it? (Problem: Messy explosion in kitchen, Solution: à you’ll have to read the book to find that one out 😛 )
- Choose a setting. Where does the story take place? (The boys’ house.)
- Develop a Beginning, Middle, and End. How does the story start, and what order do the events happen? (Beginning: Breakfast and planning of experiment, Middle: à read to see, End: à read to see.)
- Define your audience. Are you writing to young children, adults, teens? This will help you determine how you will lay out your book. (school-aged children)
An example (not pertaining to the AJSA series):
| Topic: Summer games
Problem: Frisbee gets stuck in tree. Solution: Use a Ball to hit it down. Setting: Park
|
Beginning: Two kids are playing Frisbee golf.
Middle: One kid throws the Frisbee and it gets stuck in the tree. End: The kids throw a ball up at the Frisbee until they manage to hit it down. |
Realize how the Beginning, Middle, and End correlate with the Problem and Solution.
Now that the basics of the story are developed, it’s a good idea to create your characters that way you can include their mannerisms in your outline.
Kid 1: Name: Jessie, Age: 7, Look: clean and precise, Other: Likes puppies, is nice to everyone, has a lot of friends.
Kid 2: Name: Tommy, Age: 7, Look: clean with shaggy hair, Other: Likes video games, doesn’t usually play outside, follows his friends leads.
At this point, you have the basic framework of your story and you know where you need to take it. I like to delve a bit more into the planning process before I start writing by creating an outline of the story. The outline will help me know exactly what is going to happen, and what time it will happen at. It will also serve as the backbone of the story. After the outline is complete, all that is needed is the juice!
(Beginning)
- Jessie and Tommy are playing Frisbee golf in the park.
- Another kid comes up and asks to play.
- Who is this other kid? Time to create another character!
Kid 3: Name: Jared, Age: 9, Look: dark clothing, short hair, Other: seems hostile upon first impression, but he is very sweet and gets along well with others.
- Jessie and Tommy won’t let Jared play with them.
(Middle)
(Problem)
- Jared runs between them and grabs the Frisbee out of the air and throws it into a tree.
- Jessie and Tommy go get a parent.
- Who is the parent? Is this character of enough significance to explain who they are?
(End)
(Solution)
- The parent tries to reach the Frisbee but can’t.
- The parent grabs a ball and throws it at the Frisbee and the Frisbee comes down.
Alright, now we have our outline, but it looks pretty bare. The next step is to add the juice. Get your creative thoughts flowing to add fun extras to create the rough draft.
Juice Ideas to Get You Started
-Amp up the setting: How was the weather? What was going on around the boys?
-Describe the characters physically and non-physically. Make a mental image for the readers. Maybe use some foreshadowing and say a bit about a mysterious boy (Jared).
-Explain how they are playing. What are the rules of the game? Are they just tossing the Frisbee? Maybe add a funny scene of throwing the Frisbee too high and trying to jump to catch it.
As you write, your story line may change from the outline. That’s okay! It comes with the process.
Congratulations, you have just finished your rough draft! On to editing.

Getting started is the most challenging part in writing a book and with the tips provided by you in this article, I am sure that I will definitely be able to write my own book. This article has actually helped me a lot in overcoming my fear of writing books and has also helped me a lot to write my first book. Thank you.